SMPP Inbound Endpoint Example
The SMPP inbound endpoint allows you to consume messages from SMSC. The WSO2 SMPP inbound endpoint acts as a message consumer. It creates a connection with the SMSC, then listens over a port to consume only SMS messages from the SMSC and injects the messages to the integration sequence. It will receive alert notifications or will notify when a data short message accepted.
What you'll build
This scenario demonstrates how the SMPP inbound endpoint works as an message consumer. In this scenario, you should have a connectivity with SMSC (Short Message service center) via SMPP protocol. For this we are using SMSC simulator to accomplish the required requirements. Please refer the Setting up the SMPP Connector documentation for more information.
The SMPP inbound endpoint is listening to the Short Message service center for consuming messages using defined port number in the Inbound Endpoint configurations. If SMSC generates some message by itself or user injects SMS messages to the SMSC, the WSO2 SMPP Inbound Endpoint will receive and notify. Then just log the SMS message content. In your own scenarios, you can inject that message into the mediation flow for getting the required output.
Following diagram shows the overall solution we are going to build. The SMSC will generate or receive messages from the outside, while the SMPP inbound endpoint will consume messages based on the updates.

Configure inbound endpoint using WSO2 Integration Studio
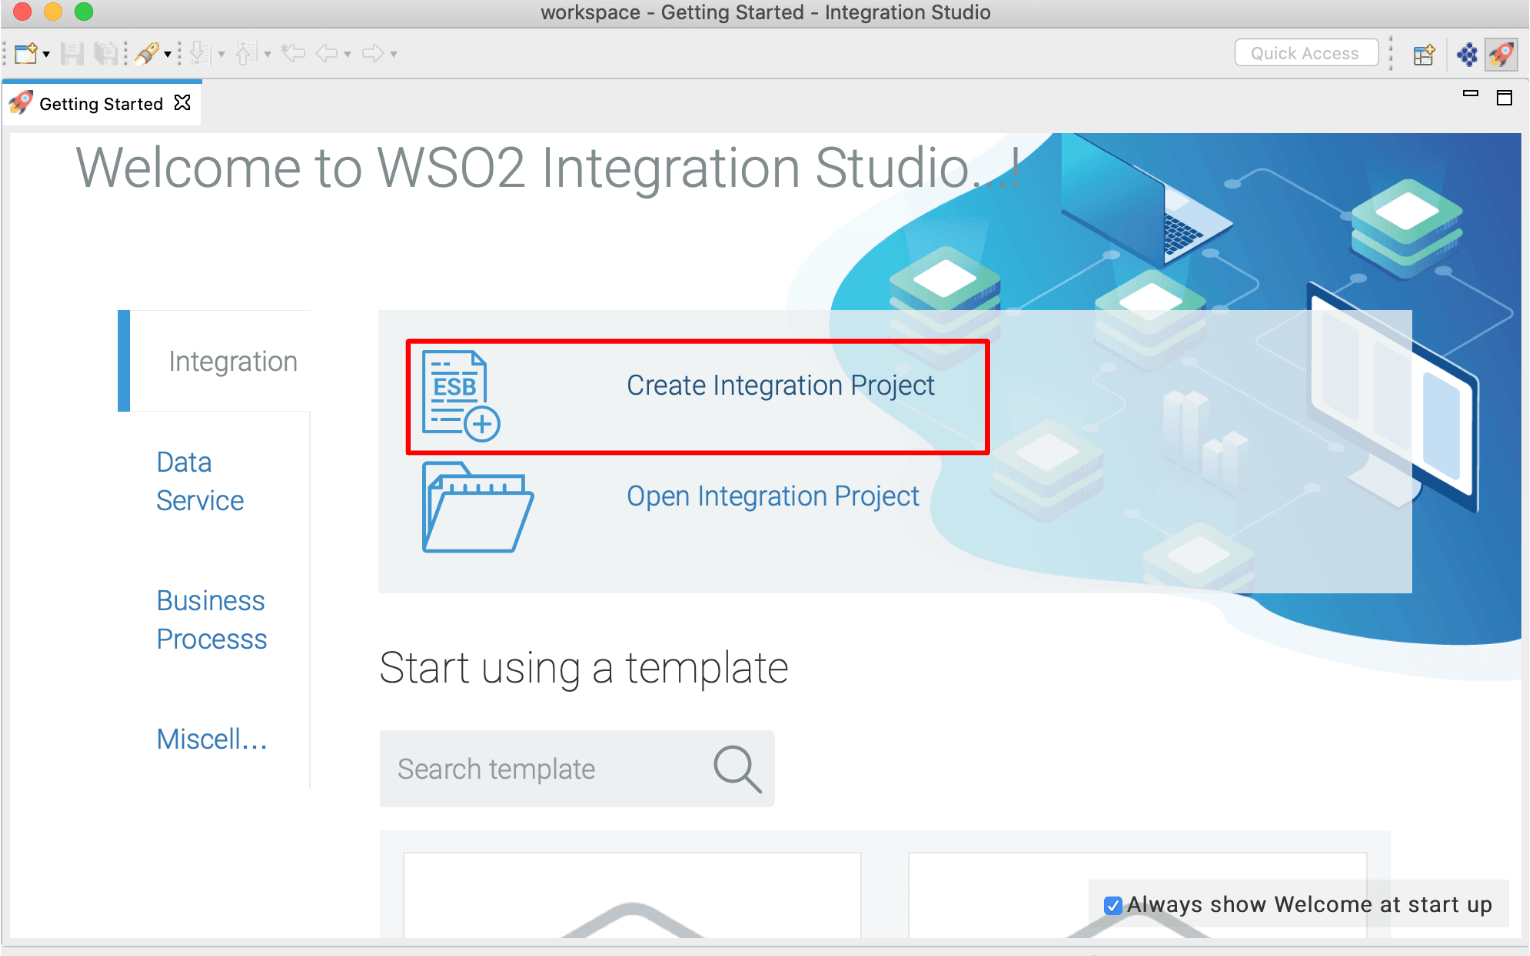
- Download WSO2 Integration Studio. Create an Integration Project as below.

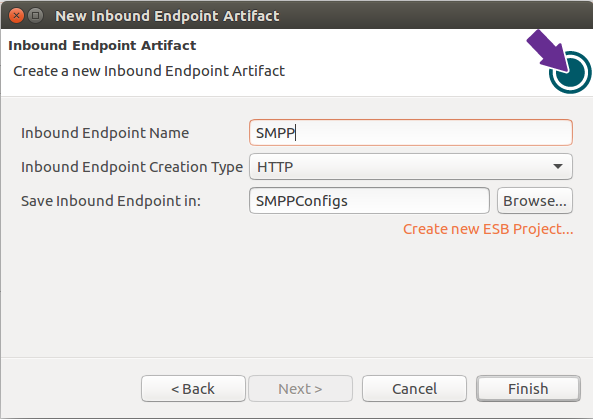
- Right click on Created Integration Project -> New -> Inbound Endpoint -> Create A New Inbound Endpoint -> Inbound Endpoint Creation Type**and select as **custom -> Click Next.

-
Click on Inbound Endpoint in design view and under
propertiestab, update class name toorg.wso2.carbon.inbound.smpp.SMPPListeningConsumer. -
Navigate to the source view and update it with the following configuration as required.
<?xml version="1.0" encoding="UTF-8"?>
<inboundEndpoint xmlns="http://ws.apache.org/ns/synapse"
                 name="SMPP"
                 sequence="request"
                 onError="fault"
                 class="org.wso2.carbon.inbound.smpp.SMPPListeningConsumer"
                 suspend="false">
   <parameters>
      <parameter name="inbound.behavior">eventBased</parameter>
      <parameter name="sequential">true</parameter>
      <parameter name="coordination">true</parameter>
      <parameter name="port">2775</parameter>
      <parameter name="addressNpi">UNKNOWN</parameter>
      <parameter name="host">localhost</parameter>
      <parameter name="reconnectInterval">3000</parameter>
      <parameter name="addressTon">UNKNOWN</parameter>
      <parameter name="systemType">CPT</parameter>
      <parameter name="retryCount">-1</parameter>
      <parameter name="bindType">BIND_RX</parameter>
      <parameter name="addressRange">null</parameter>
      <parameter name="systemId">kasun</parameter>
      <parameter name="password">kasun</parameter>
      <parameter name="exponentialFactor">5</parameter>
      <parameter name="maximumBackoffTime">10000</parameter>
   </parameters>
</inboundEndpoint>
In this example for simplicity we will just log the message, but in a real world use case, this can be any type of message mediation.
<?xml version="1.0" encoding="UTF-8"?>
<sequence xmlns="http://ws.apache.org/ns/synapse" name="request" onError="fault">
   <log level="custom">
      <property xmlns:ns="http://org.apache.synapse/xsd"
                name="MessageId"
                expression="get-property('SMPP_MessageId')"/>
      <property xmlns:ns="http://org.apache.synapse/xsd"
                name="SourceAddress"
                expression="get-property('SMPP_SourceAddress')"/>
      <property xmlns:ns="http://org.apache.synapse/xsd"
                name="DataCoding"
                expression="get-property('SMPP_DataCoding')"/>
      <property xmlns:ns="http://org.apache.synapse/xsd"
                name="ScheduleDeliveryTime"
                expression="get-property('SMPP_ScheduleDeliveryTime')"/>
      <property xmlns:ns="http://org.apache.synapse/xsd"
                name="SequenceNumber"
                expression="get-property('SMPP_SequenceNumber')"/>
      <property xmlns:ns="http://org.apache.synapse/xsd"
                name="ServiceType"
                expression="get-property('SMPP_ServiceType')"/>
   </log>
   <log level="full"/>
</sequence>
Note: To configure the
systemIdandpasswordparameter value, please use the steps given under the topicConfigure the SMSC (Short Message Service Center) simulatorin the Setting up the SMPP Connector documentation. - systemId : username to access the SMSC - password : password to access the SMSC
Exporting Integration Logic as a CApp
CApp (Carbon Application) is the deployable artefact on the integration runtime. Let us see how we can export integration logic we developed into a CApp. To export the Solution Project as a CApp, a Composite Application Project needs to be created. Usually, when a solution project is created, this project is automatically created by Integration Studio. If not, you can specifically create it by navigating to File -> New -> Other -> WSO2 -> Distribution -> Composite Application Project.
-
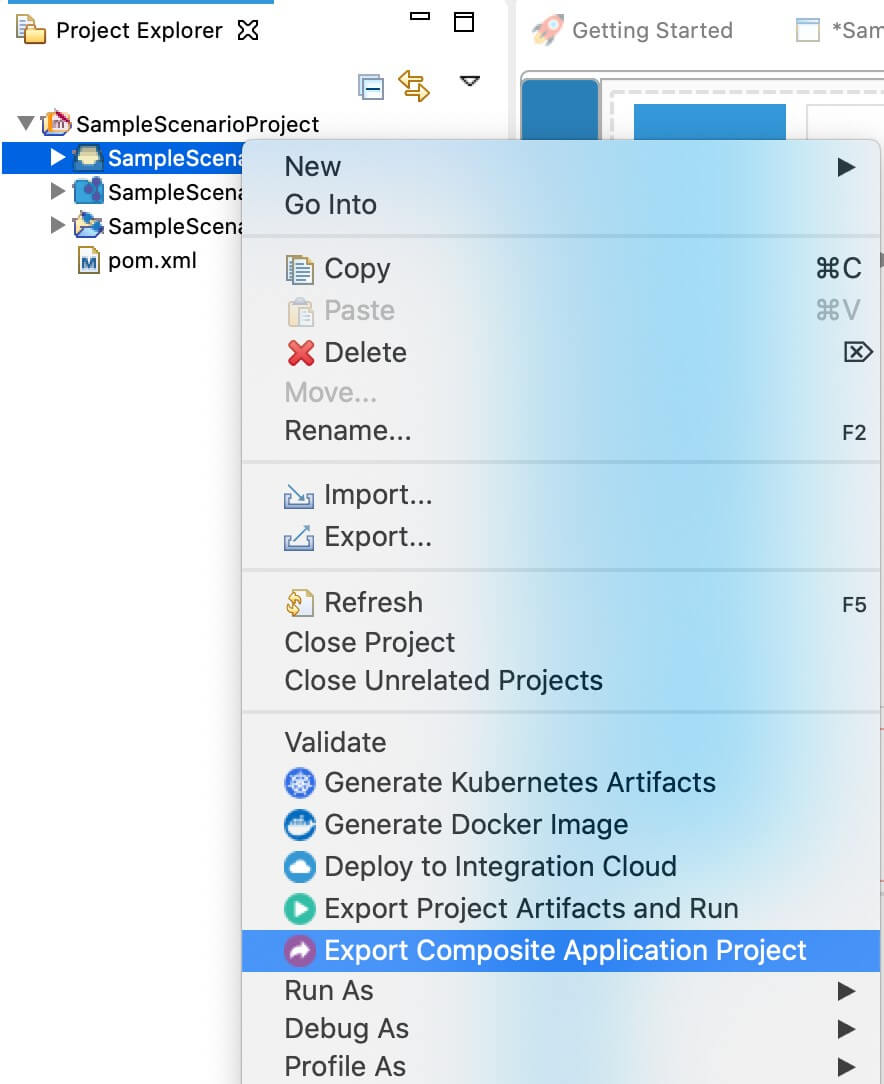
Right click on Composite Application Project and click on Export Composite Application Project.

-
Select an Export Destination where you want to save the .car file.
-
In the next Create a deployable CAR file screen, select inbound endpoint and sequence artifacts and click Finish. The CApp will get created at the specified location provided in the previous step.
Get the project
You can download the ZIP file and extract the contents to get the project code.
Tip
You may need to update the simulator details and make other such changes before deploying and running this project.
Deployment
-
Navigate to the connector store and search for
SMPP Connector. Click onSMPP Inbound Endpointand download the .jar file by clicking onDownload Inbound Endpoint. Copy this .jar file into/lib folder. -
Download jsmpp-2.1.0-RELEASE.jar and asyncretry-jdk7-0.0.6.jar copy inside
/lib folder. -
Copy the exported carbon application to the
/repository/deployment/server/carbonapps folder.
Testing
Please use the smpp-connector-example testing steps to test this Inbound Endpoint scenario. You need to send the SMS message to the SMSC via the SMPP connector example API(SmppTestApi.xml).
Sample request
 ```
 curl -v POST -d '{"sourceAddress":"16111", "message":"Hi! This is the first test SMS message.","distinationAddress":"071XXXXXXX"}' "http://172.17.0.1:8290/send" -H "Content-Type:application/json"
 ```
SMPP Inbound Endpoint will consume message from the SMSC.
Expected response
 ```
 [2020-05-18 10:56:05,495]  INFO {org.apache.synapse.mediators.builtin.LogMediator} - MessageId = 0, SourceAddress = null, DataCoding = 0, ScheduleDeliveryTime = null, SequenceNumber = 7, ServiceType = null
 [2020-05-18 10:56:05,506]  INFO {org.apache.synapse.mediators.builtin.LogMediator} - To: , MessageID: urn:uuid:F767BC9689D3D2221B1589779565430, Direction: request, Envelope: <?xml version='1.0' encoding='utf-8'?><soapenv:Envelope xmlns:soapenv="http://schemas.xmlsoap.org/soap/envelope/"><soapenv:Body><text xmlns="http://ws.apache.org/commons/ns/payload">Hi! This is the first test SMS message.</text></soapenv:Body></soapenv:Envelope>
 ```