Kafka Inbound Endpoint Example
The Kafka inbound endpoint acts as a message consumer. It creates a connection to ZooKeeper and requests messages for either a topic/s or topic filters.
What you'll build
This sample demonstrates how one way message bridging from Kafka to HTTP can be done using the inbound Kafka endpoint. See Configuring Kafka Inbound Endpoint for more information.
The following diagram illustrates all the required functionality of the Kafka service that you are going to build. In this example, you only need to consider about the scenario of message consuming.

If you do not want to configure this yourself, you can simply get the project and run it.
Set up Kafka
Before you begin, set up Kafka by following the instructions in Setting up Kafka.
Configure inbound endpoint using WSO2 Integration Studio
-
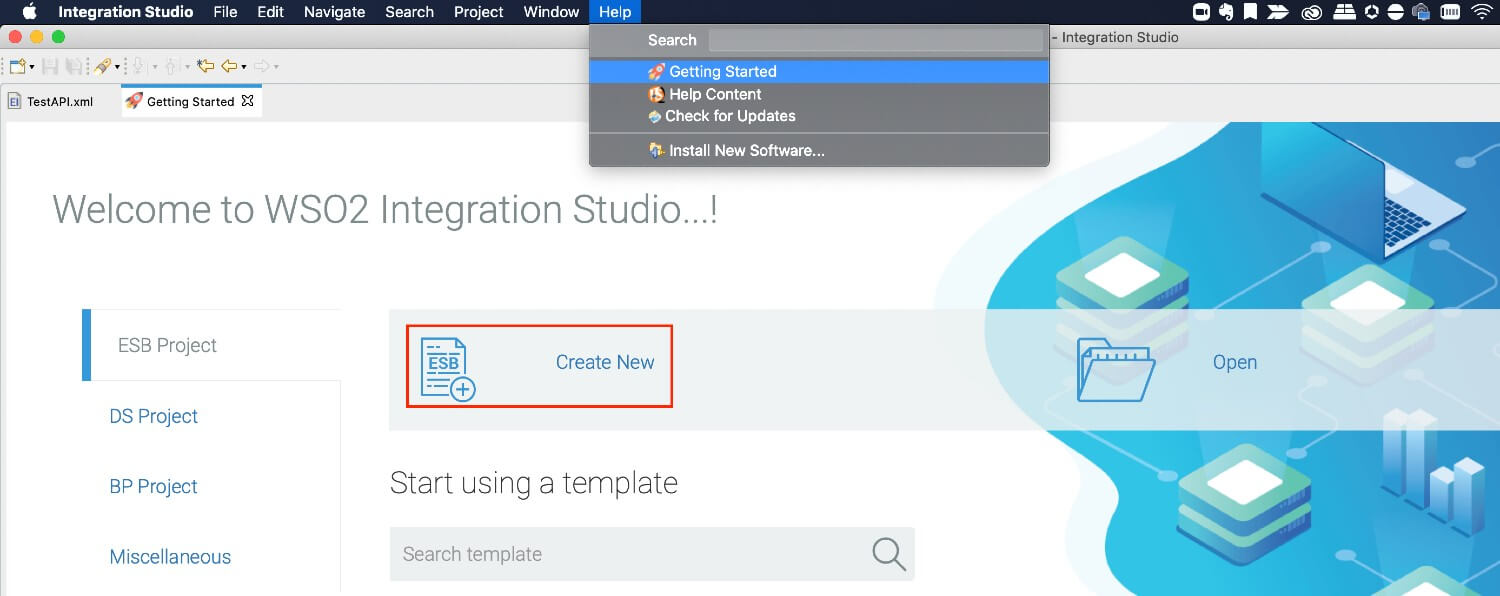
Download WSO2 Integration Studio. Create an Integration Project as below.

-
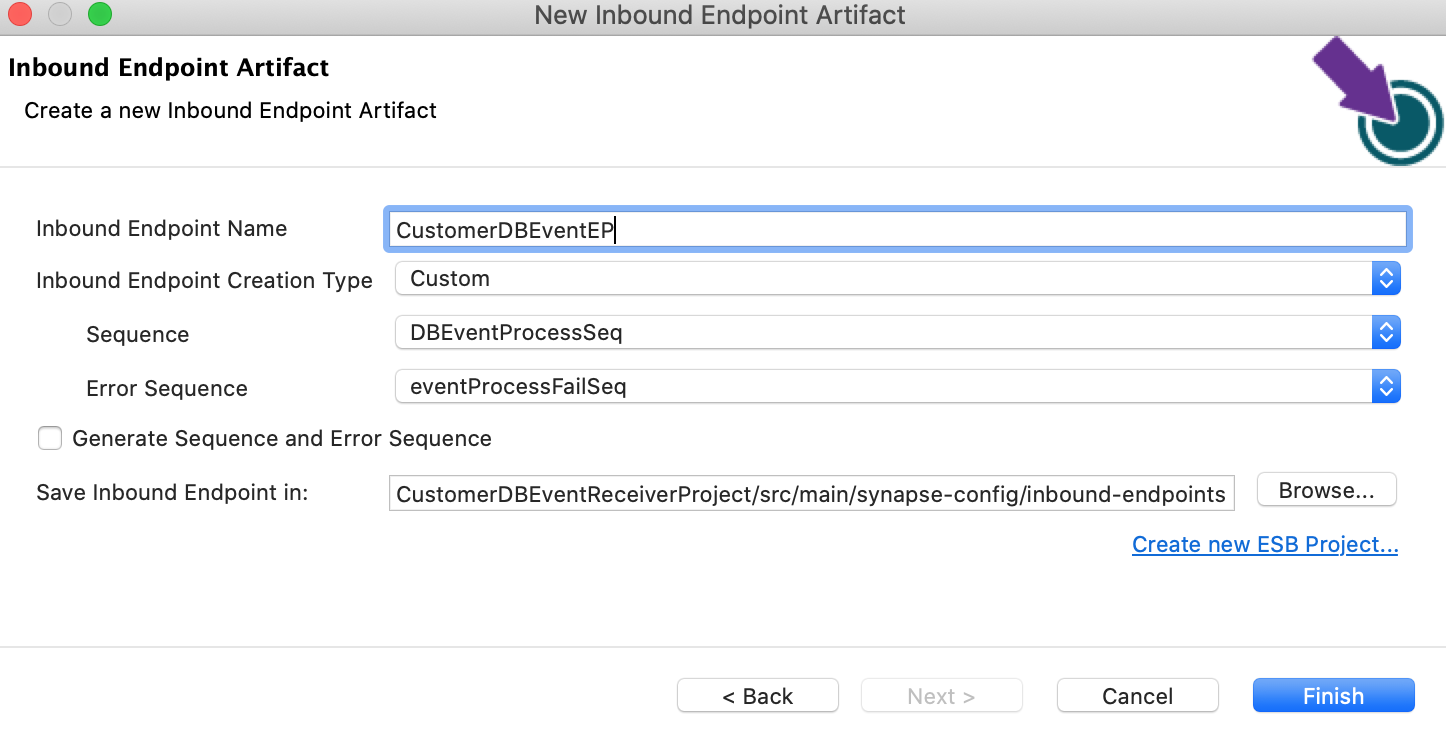
Right click on Source -> main -> synapse-config -> inbound-endpoints and add a new custom inbound endpoint.

-
Click on Inbound Endpoint in the design view and under the
propertiestab, update the class name toorg.wso2.carbon.inbound.kafka.KafkaMessageConsumer. -
Navigate to the source view and update it with the following configuration as required.
<?xml version="1.0" encoding="UTF-8"?>
<inboundEndpoint name="KAFKAListenerEP" sequence="kafka_process_seq" onError="fault" class="org.wso2.carbon.inbound.kafka.KafkaMessageConsumer" suspend="false" xmlns="http://ws.apache.org/ns/synapse">
   <parameters>
     <parameter name="sequential">true</parameter>
     <parameter name="interval">10</parameter>
     <parameter name="coordination">true</parameter>
     <parameter name="inbound.behavior">polling</parameter>
     <parameter name="value.deserializer">org.apache.kafka.common.serialization.StringDeserializer</parameter>
     <parameter name="topic.name">test</parameter>
     <parameter name="poll.timeout">100</parameter>
     <parameter name="bootstrap.servers">localhost:9092</parameter>
     <parameter name="group.id">hello</parameter>
     <parameter name="contentType">application/json</parameter>
     <parameter name="key.deserializer">org.apache.kafka.common.serialization.StringDeserializer</parameter>
   </parameters>
</inboundEndpoint>
In this example for simplicity we will just log the message, but in a real world use case, this can be any type of message mediation.
<?xml version="1.0" encoding="ISO-8859-1"?>
   <sequence xmlns="http://ws.apache.org/ns/synapse" name="kafka_process_seq">
      <log level="full"/>
      <log level="custom">
         <property xmlns:ns="http://org.apache.synapse/xsd" name="partitionNo" expression="get-property('partitionNo')"/>
      </log>
      <log level="custom">
         <property xmlns:ns="http://org.apache.synapse/xsd" name="messageValue" expression="get-property('messageValue')"/>
      </log>
      <log level="custom">
         <property xmlns:ns="http://org.apache.synapse/xsd" name="offset" expression="get-property('offset')"/>
      </log>
   </sequence>
Exporting Integration Logic as a CApp
CApp (Carbon Application) is the deployable artefact on the integration runtime. Let us see how we can export integration logic we developed into a CApp. To export the Solution Project as a CApp, a Composite Application Project needs to be created. Usually, when a solution project is created, this project is automatically created by Integration Studio. If not, you can specifically create it by navigating to File -> New -> Other -> WSO2 -> Distribution -> Composite Application Project.
-
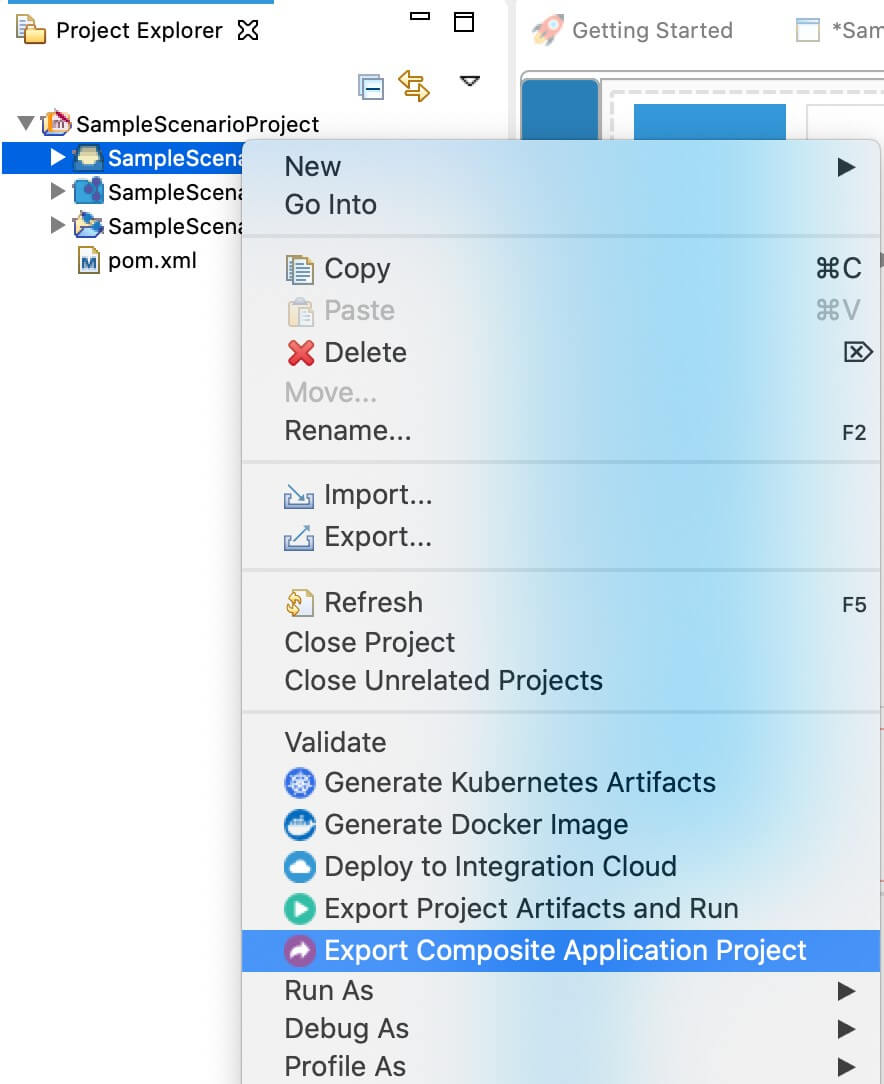
Right click on Composite Application Project and click on Export Composite Application Project.

-
Select an Export Destination where you want to save the .car file.
-
In the next Create a deployable CAR file screen, select inbound endpoint and sequence artifacts and click Finish. The CApp will get created at the specified location provided in the previous step.
Get the project
You can download the ZIP file and extract the contents to get the project code.
Deployment
-
Navigate to the connector store and search for
Kafka. Click onKafka Inbound Endpointand download the .jar file by clicking onDownload Inbound Endpoint. Copy this .jar file into/lib folder. -
Copy the exported carbon application to the
/repository/deployment/server/carbonapps folder. -
Start the integration server.
Testing
Sample request
Run the following on the Kafka command line to create a topic named test with a single partition and only one replica:
bin/kafka-topics.sh --create --zookeeper localhost:2181 --replication-factor 1 --partitions 1 --topic test
bin/kafka-console-producer.sh --broker-list localhost:9092 --topic test
{"test":"wso2"}
You can see the following Message content in the Micro Integrator:
[2020-02-19 12:39:59,331]  INFO {org.apache.synapse.mediators.builtin.LogMediator} - To: , MessageID: d130fb8f-5d77-43f8-b6e0-85b98bf0f8c1, Direction: request, Payload: {"test":"wso2"}
[2020-02-19 12:39:59,335]  INFO {org.apache.synapse.mediators.builtin.LogMediator} - partitionNo = 0
[2020-02-19 12:39:59,336]  INFO {org.apache.synapse.mediators.builtin.LogMediator} - messageValue = {"test":"wso2"}
[2020-02-19 12:39:59,336]  INFO {org.apache.synapse.mediators.builtin.LogMediator} - offset = 6
Configure inbound endpoint with Kafka Avro message
You can setup WSO2 Micro Integrator inbound endpoint with Kafka Avro messaging format as well. Follow the instructions on Setting up Kafka to setup Kafka on the Micro Integrator. In inbound endpoint XML configurations, change the value.deserializer parameter to io.confluent.kafka.serializers.KafkaAvroDeserializer and key.deserializer parameter to io.confluent.kafka.serializers.KafkaAvroDeserializer. Add new parameter schema.registry.url and add schema registry URL in there. The following is the modiefied sample of the Kafka inbound endpoint:
<?xml version="1.0" encoding="UTF-8"?>
<inboundEndpoint name="KAFKAListenerEP" sequence="kafka_process_seq" onError="fault" class="org.wso2.carbon.inbound.kafka.KafkaMessageConsumer" suspend="false" xmlns="http://ws.apache.org/ns/synapse">
   <parameters>
     <parameter name="sequential">true</parameter>
     <parameter name="interval">10</parameter>
     <parameter name="coordination">true</parameter>
     <parameter name="inbound.behavior">polling</parameter>
     <parameter name="value.deserializer">io.confluent.kafka.serializers.KafkaAvroDeserializer</parameter>
     <parameter name="topic.name">test</parameter>
     <parameter name="poll.timeout">100</parameter>
     <parameter name="bootstrap.servers">localhost:9092</parameter>
     <parameter name="group.id">hello</parameter>
     <parameter name="contentType">text/plain</parameter>
     <parameter name="key.deserializer">io.confluent.kafka.serializers.KafkaAvroDeserializer</parameter>
     <parameter name="schema.registry.url">http://localhost:8081/</parameter>
   </parameters>
</inboundEndpoint>
Add following configs when the Confluent Schema Registry is secured with basic auth,
<parameter name="basic.auth.credentials.source">source_of_basic_auth_credentials</parameter>
<parameter name="basic.auth.user.info">username:password</parameter>
What's next
- To customize this example for your own scenario, see Kafka Inbound Endpoint Configuration documentation.
