Creating a Registry Resource
Initially, your Registry resources project will contain only a pom file. You can create any number of registry resources inside that project.
Step 1: Creating the resource artifact
Right-click on the Registry Resource project and click New -> Registry Resource.

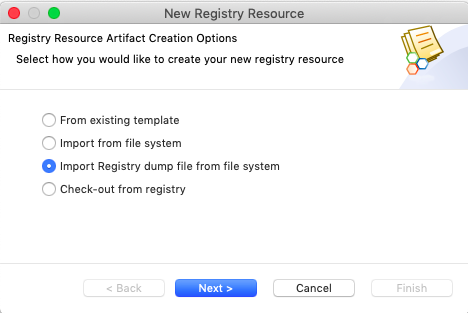
This will open the New Registry Resource window.
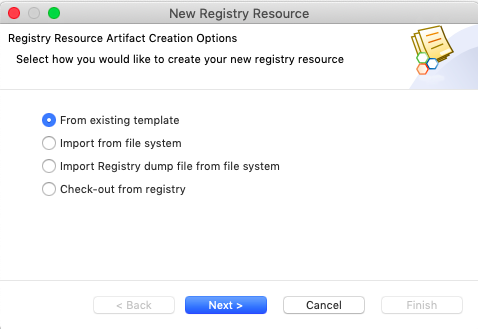
Select one of the following options and click Next.
- From existing template
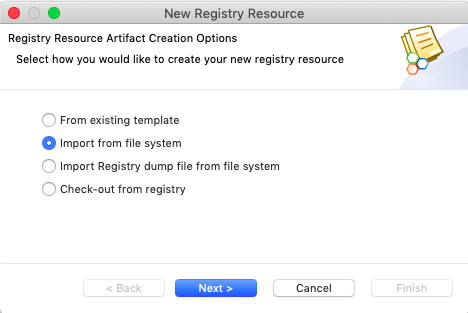
- Import from file system
- Import Registry dump file from file system
- Check-out from Registry
From existing template
Use the From existing template option if you want to generate a registry resource from a template.
Click Next and specify values for the following parameters:
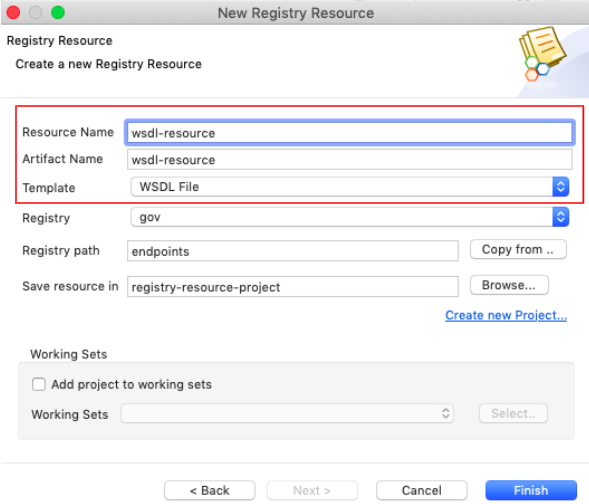
Enter a unique name for the resource and select a resource template for the Template field. In this example, a WSDL File template is used.
Import from file system
Use the Import from file system option to import a file or a folder containing registry resources.
Tip
This helps you import a resource and collection from the same registry instance or a different registry instance that you have added. Similarly, you can export a resource or collection to the same registry instance or a different registry instance.
Click Next and specify values for the following parameters:
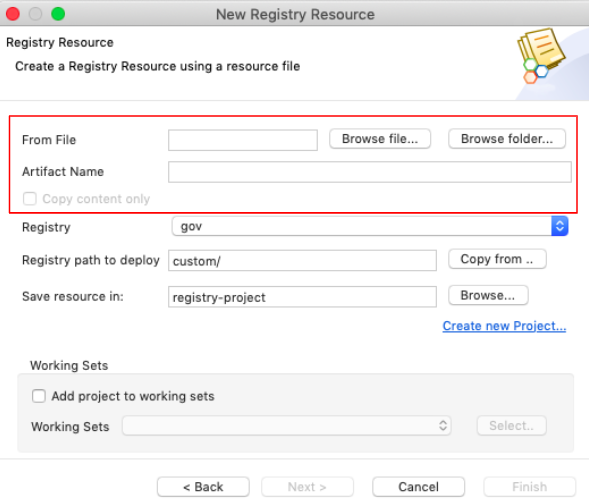
| Browse file/Browse folder | Browse to find the relevant file or folder. |
|---|---|
| Copy content only | If you selected Browse Folder, the Copy content only check box will be enabled. Select the check box if you want to copy only the content of the folder (and not the folder itself) to the save location. |
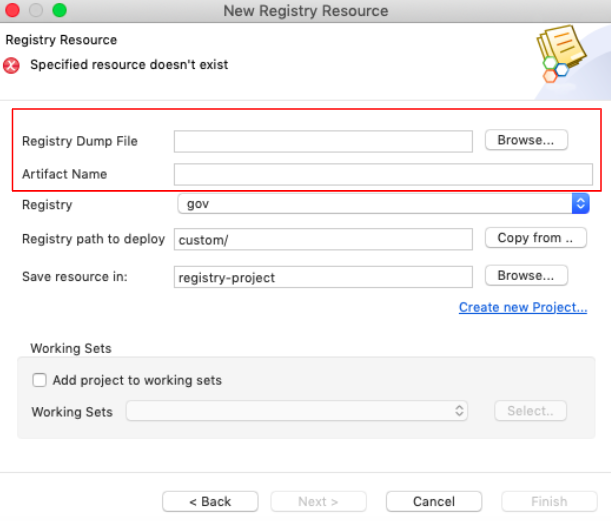
Import Registry dump file from file system
Use this option to browse for a registry dump file, which you can use to sync a registry.
Click Next and then click Browse to find the relevant file.
Check-out from registry
Use this option to check out files from the registry.

Click Next and specify the artifact name and the registry path from which you want to check out the files.
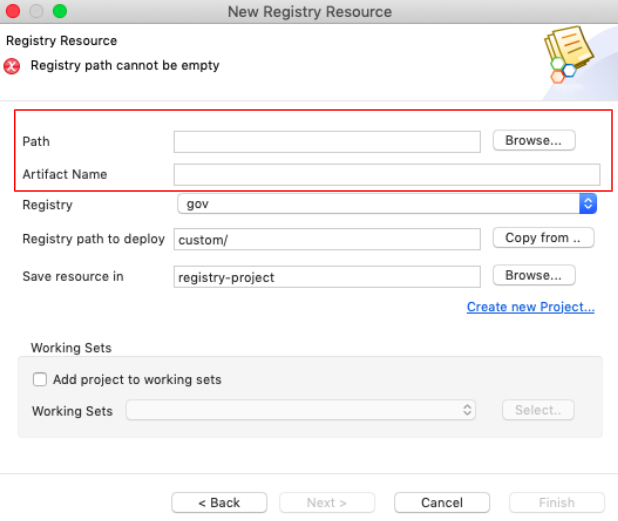
Step 2: Saving the resource artifact
Specify the location to save the registry resource and click Finish.
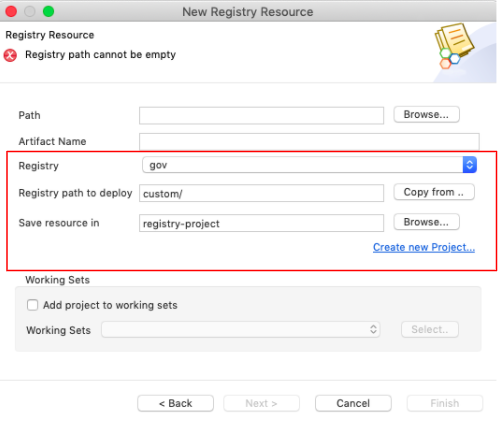
| Registry path to deploy | Specify where the registry resource should be saved to at the time of deployment. |
|---|---|
| Save Resource in | Select an existing registry resource project to save the resource. Alternatively, you can create a new registry resource project. |
Editing a Registry Resource
You may need to change the details you entered for a registry resource, for example, the registry path. You can edit such information using the Registry Resource Editor. To open this editor, right-click the Registry Resource project and click Registry Resource Editor.
This editor lists all the registry resources that you have defined in that project and it will list the Registry Path to Deploy information per resource.