Creating a REST API
Follow the instructions given below to create a new REST API artifact in WSO2 Integration Studio.
Instructions
Creating the API artifact
-
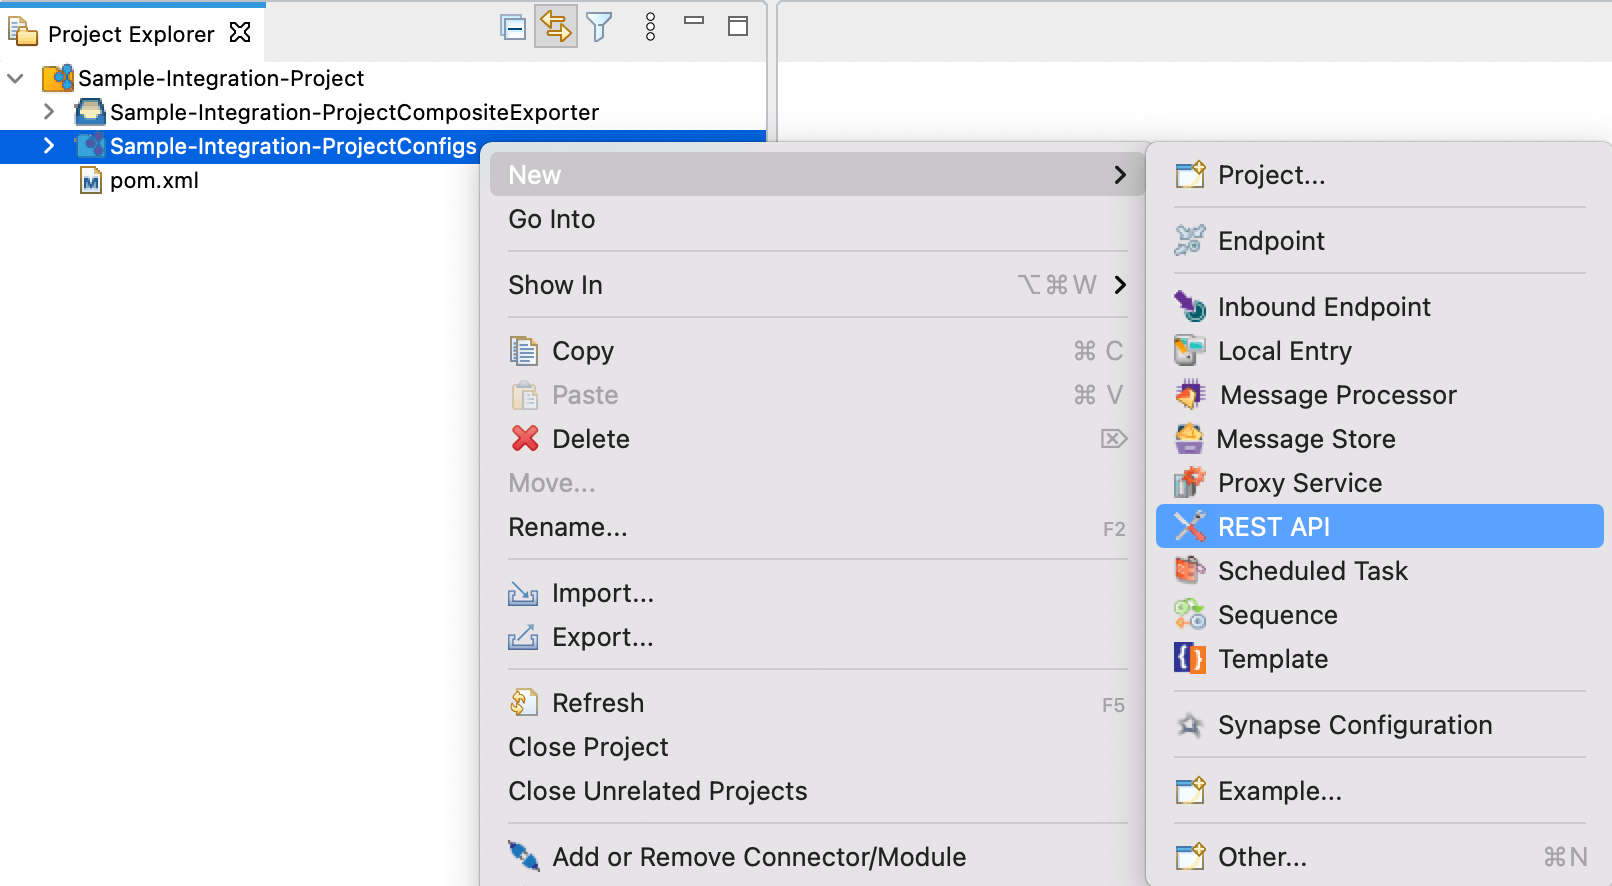
Right-click the Config project in the project explorer and go to New → REST API.
-
In the dialog box that opens, select one of the given options for creating the API artifact:
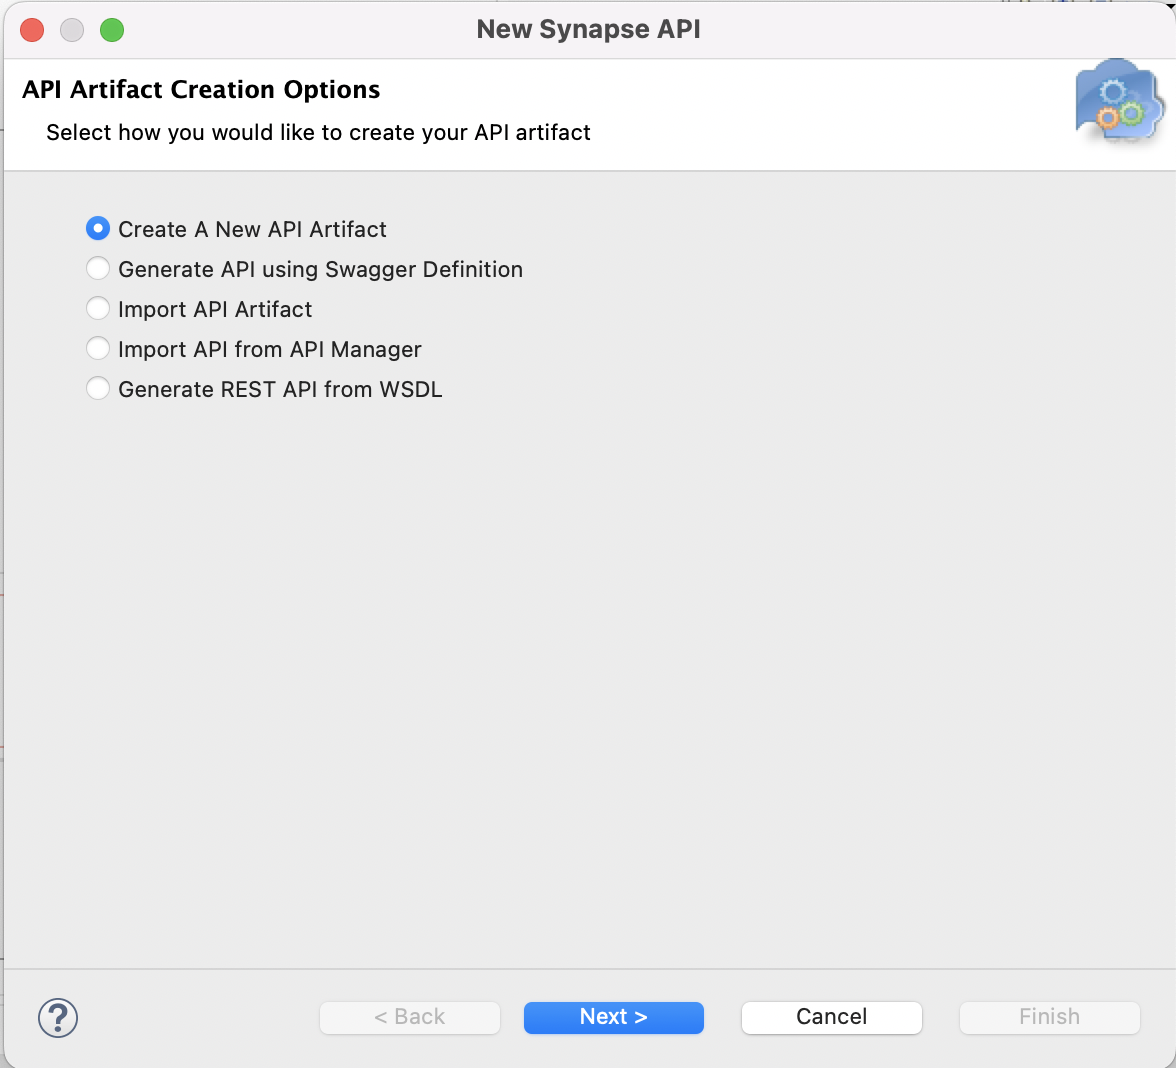
Create A New API Artifact This option is selected by default. Use this option if you want to create the REST API artifact from scratch. Generate API using Swagger Definition Selet this option if you want to generate the REST API artifact from an existing Swagger definition (YAML/JSON file). That is, the synapse configuration (XML) of the REST API will be generated using the Swagger definition. Import API Artifact Select this option to import an existing REST API configuration (XML definition) that was created using WSO2 Integration Studio. Import API from API Manager Select this option to import an managed API from WSO2 API Manager. Generate REST API from WSDL Select this option to generate Synapse API from a WSDL endpoint. -
Click Next to go to the next page and enter the relevant details.
-
If you selected Create a New API in the previous step, enter the basic details that are required for creating the synapse configuration (XML) of the API:
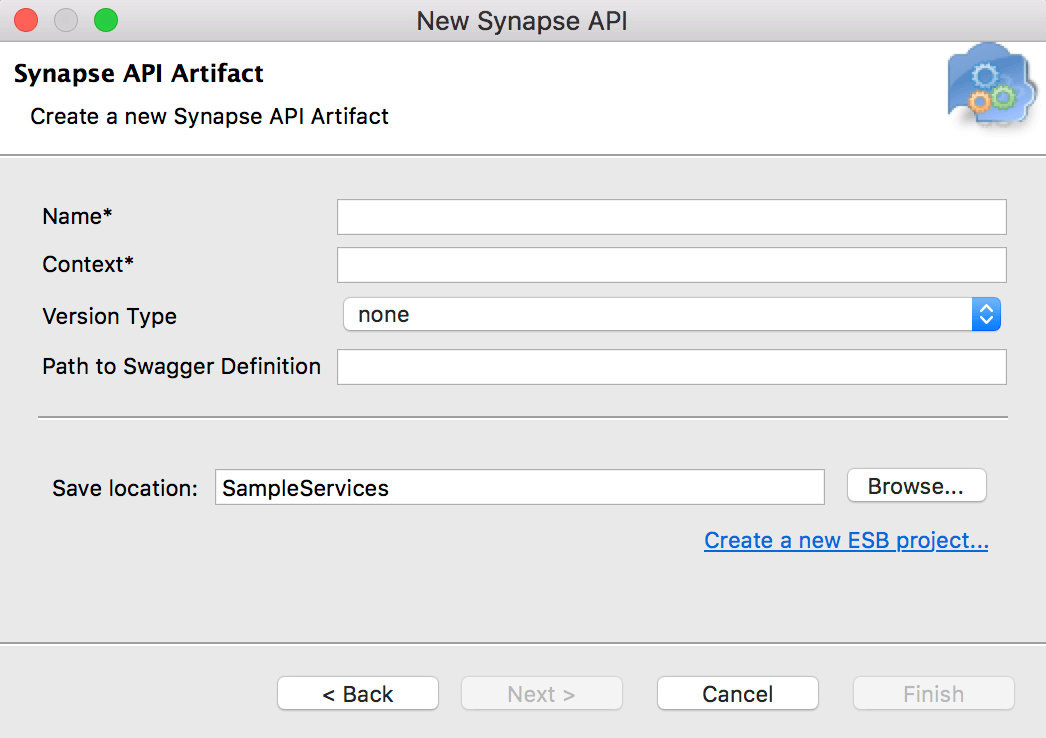
Parameter Description Name Required. The name of the REST API. Context Required. The context for the REST API. For example, /healthcare. Note that it is not recommended to use the same API context in multiple APIs. The API context should be unique for each API. It is also not recommended to use "/service" as API context because it is preserved for Proxy services.Path to Swagger Definition Enter the path to a custom Swagger definition (YAML/JSON file) that is stored in a registry project in your workspace. Once this API is created and deployed in the Micro Integrator, users will be able to access this custom Swagger definition and not the default Swagger definition of the API. -
If you selected Generate API using Swagger Definition in the previous step, enter the details of your custom Swagger file:
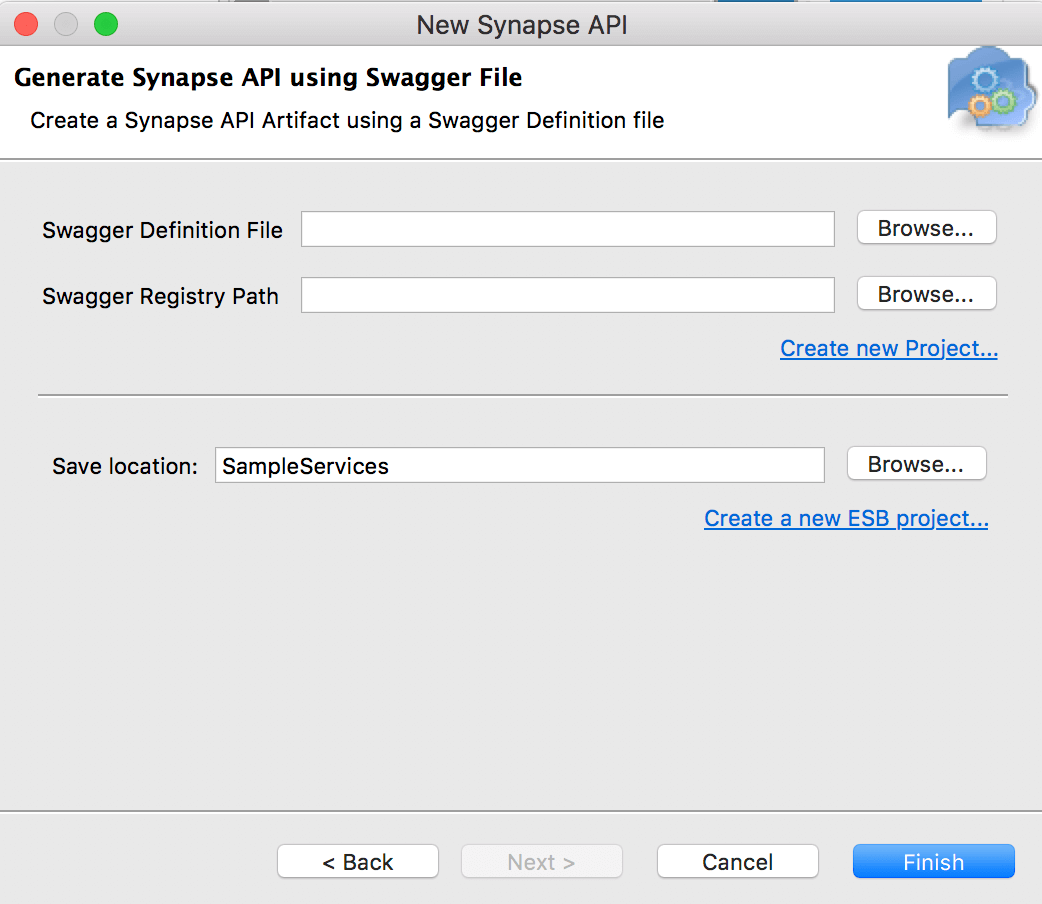
Parameter Description Swagger Definition File Required. Click Browse and select the Swagger file. Swagger Registry Path Click Browse to select an existing registry project in your workspace. The Swagger definition will be saved to this registry. If you don't have an existing registry project, click Create new project to add a new registry project to your workspace. -
If you selected Import API Artifact in the previous step, enter the following information:
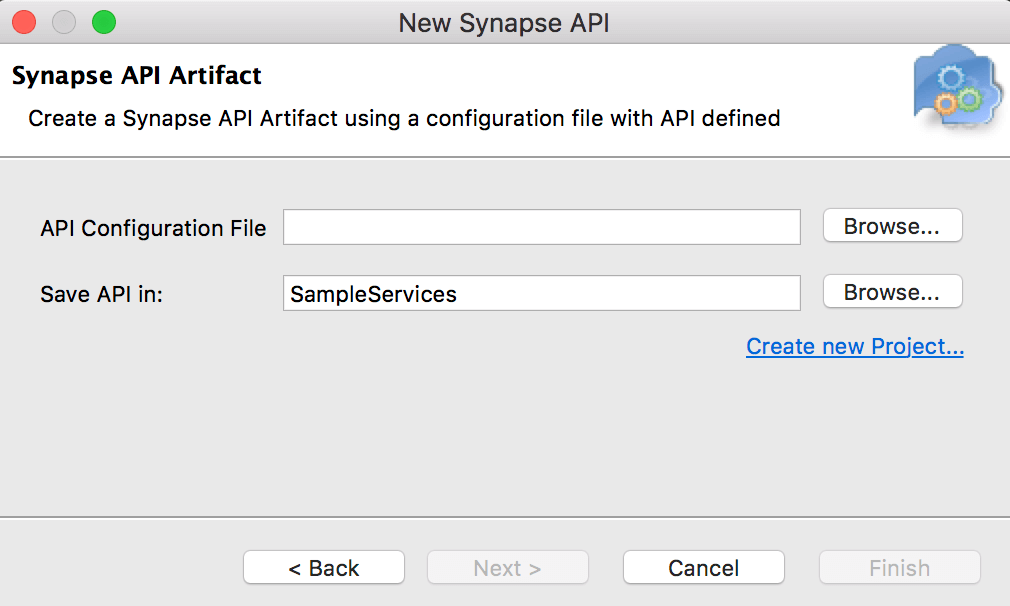
Parameter Description API Configuration File Required. Click Browse and select the REST API configuration file. -
If you selected Import API from API Manager in the previous step, enter the following information:
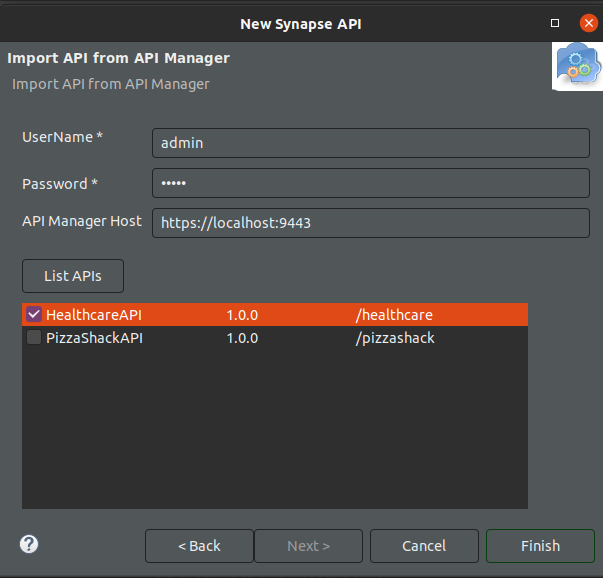
After entering the above values in the Import API from API Manager option wizard, click List APIs. The list of APIs that are in WSO2 API Manager appear. Thereafter, select one of the APIs from the API list.Parameter Description Username Username of the API Manager user. Password Password of the API Manager user. API Manager host Host URL of the API Manager. -
If you selected Generate REST API from WSDL in the previous step, enter the following information:
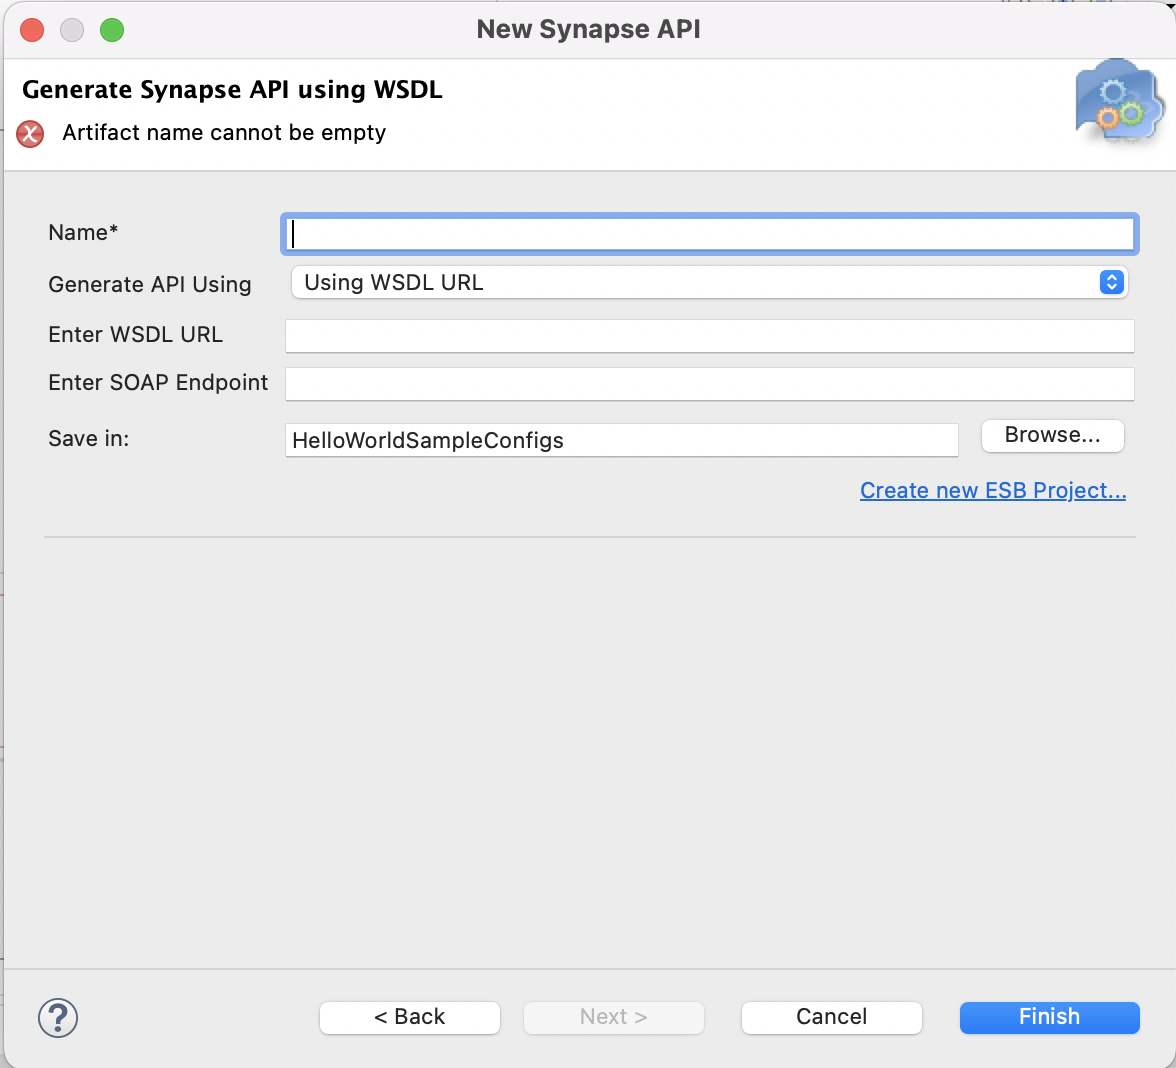
Parameter Description Name Name for the generated REST API. Generate API Select 'Using WSDL URL' for generate API using the remote WSDL file or select 'Using Local File' to generate API from WSDL file or Zip file contain a valid WSDL file. Use Local WSDL file or Zip file Browse and select the WSDL File or Zip file that has a valid WSDL file Enter WSDL URL Give the remote location of the SOAP Service WSDL File as a valid URL Enter SOAP Endpoint Give the actual SOAP Backend URL(This should return a valid WSDL when invoked with ?wsdl) Save in Select the integration project for the generated API Note
- Current SOAP to REST Generation has the limitations mentioned here
- All the generated REST Services are not production ready and users need to review them manually using Integration Studio IDE and edit if needed.
- Since having
.(dot) in XML element names is not a best practice, you may need to manually change the generated soap payload to include the.(dot).
-
-
Click Finish.
- The REST API is created inside the
src/main/synapse-config/apifolder of your Config project. - If you provided a custom Swagger definition file (YAML), it is now stored in the registry project.
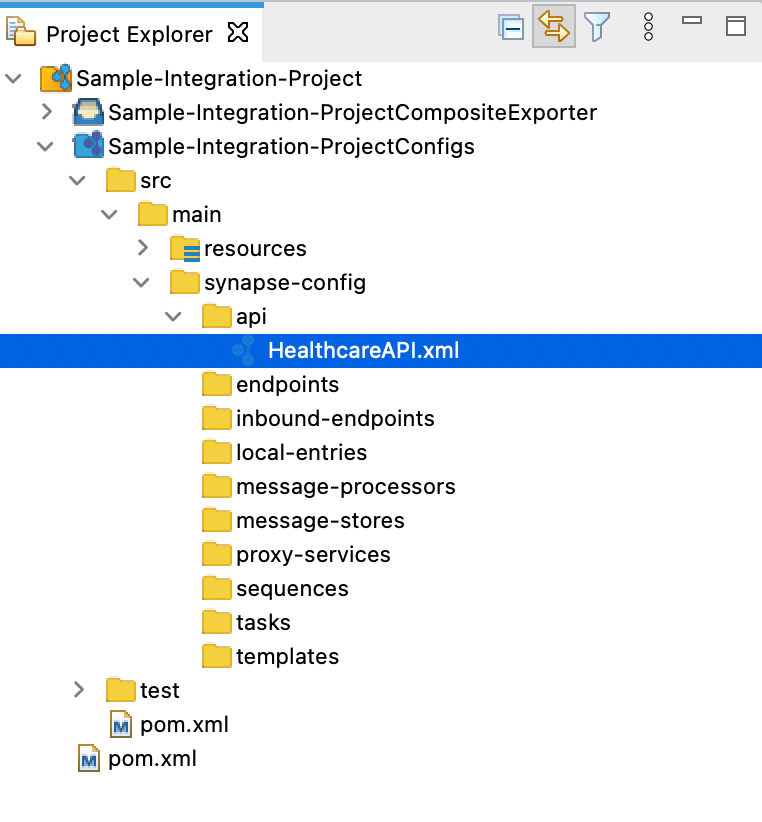
- The REST API is created inside the
Designing the integration
When you open the REST API from the Config project in the project explorer, you will see the default Design view as shown below.
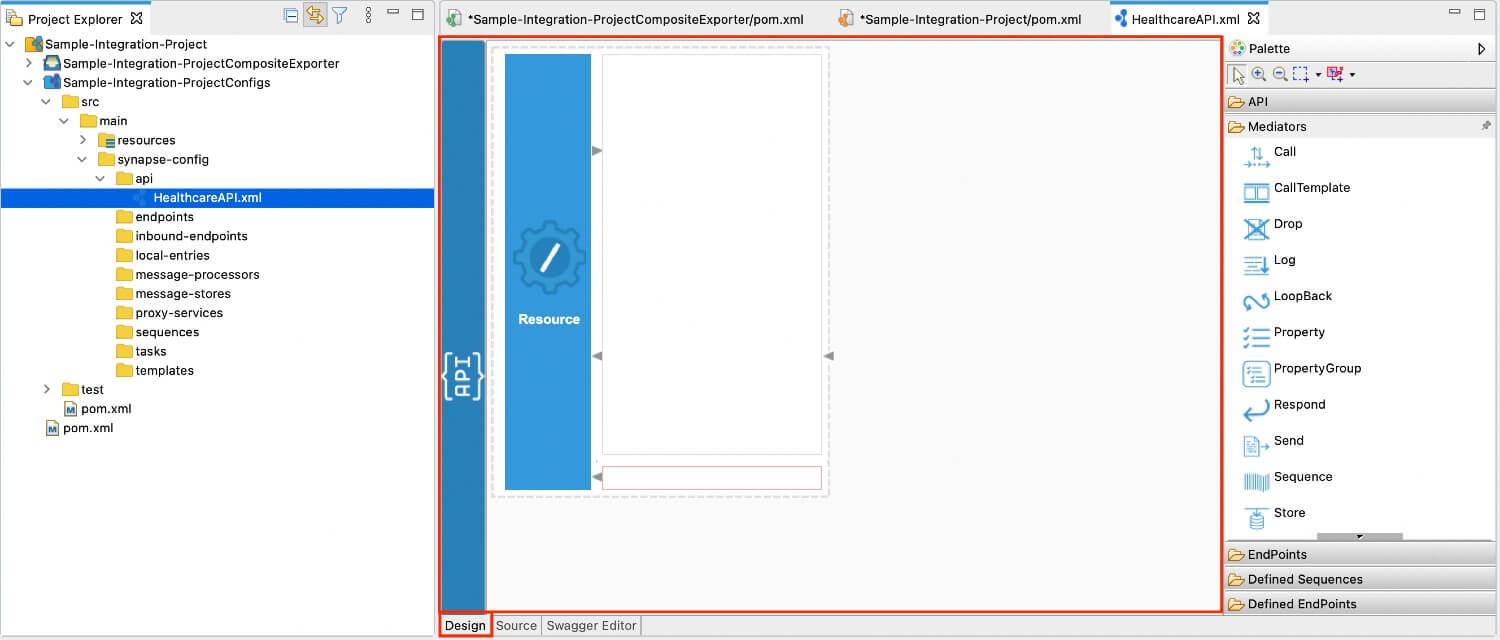
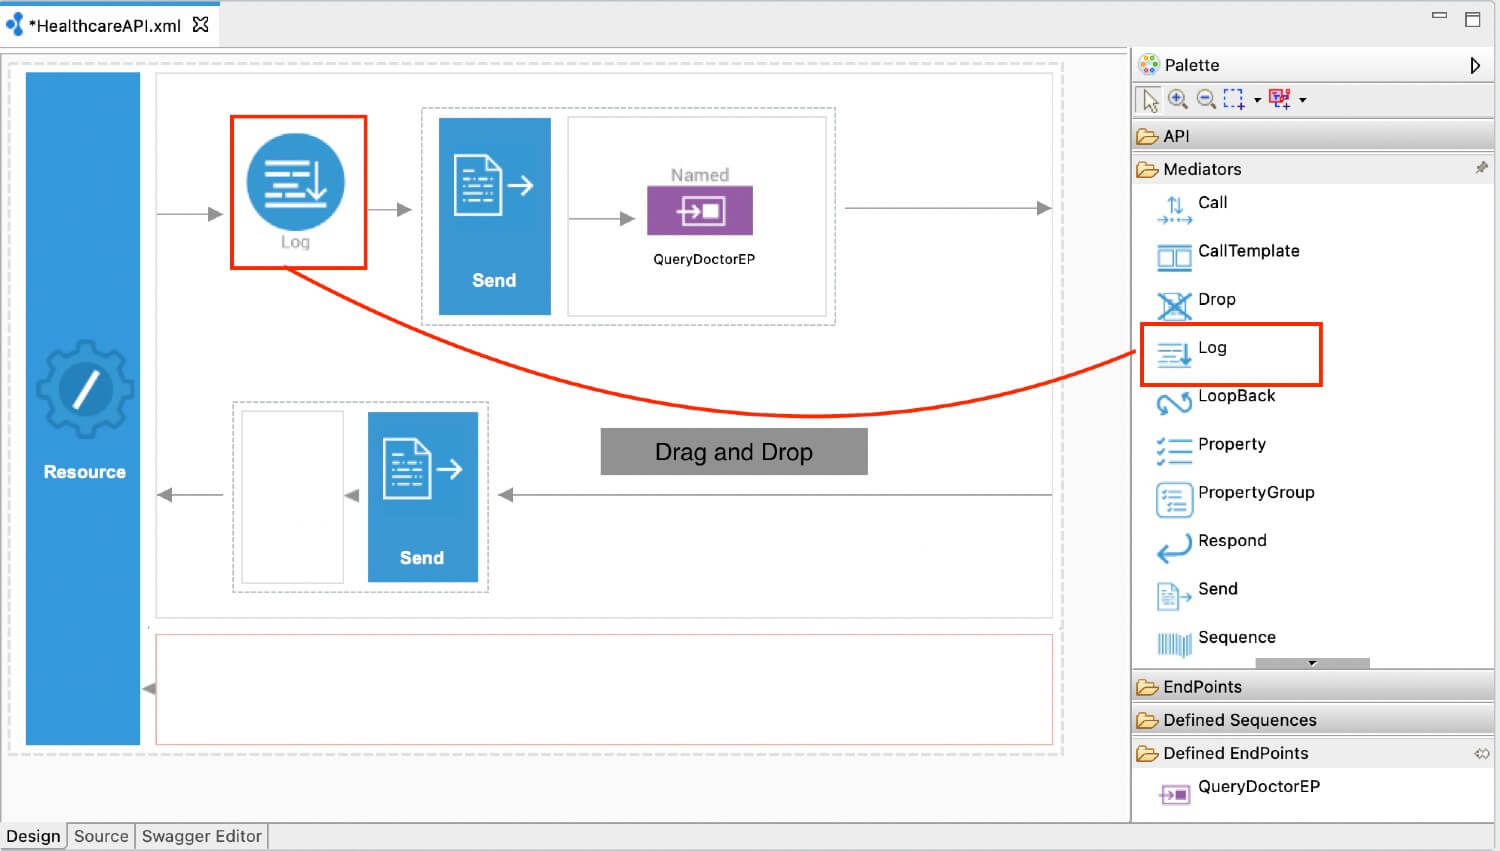
Drag and drop the required integration artifacts from the Palette to the API resource and design the integration flow.
You can also use the Source view or the Swagger editor to update the API configuration.
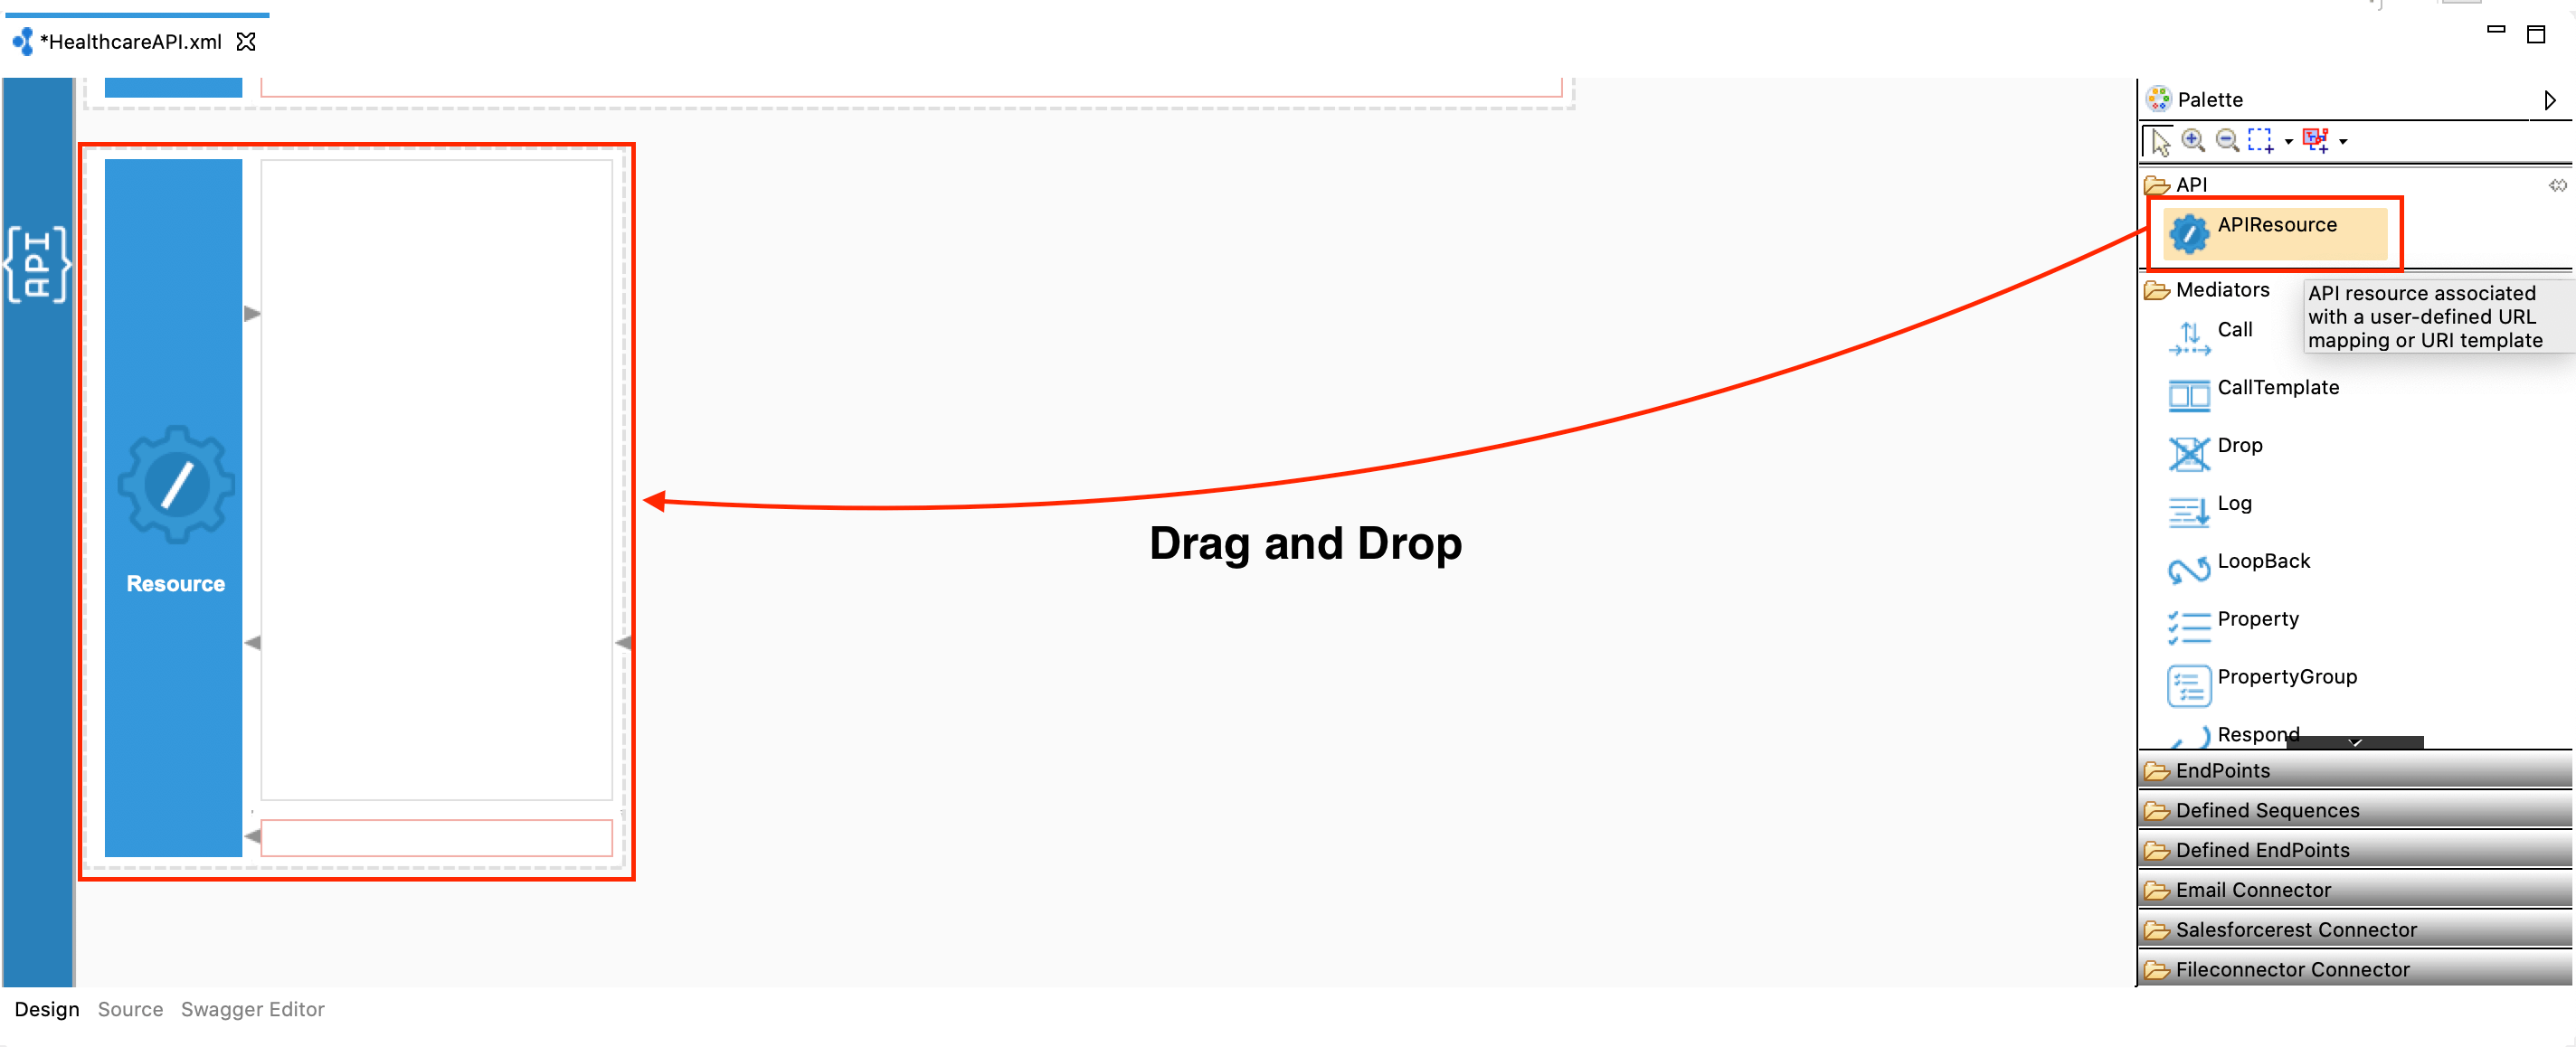
Adding new API resources
When you create the API, an API resource is created by default. If you want to add a new resource, click API Resource in the Pallet and simply drag and drop the resource to the REST API.
Info
About the default API Resource
Each API can have at most one default resource. Any request received
by the API but does not match any of the enclosed resources
definitions will be dispatched to the default resource of the API.
In the following example, if a DELETE request is received by SampleAPI on the /payments URL, the request will be
dispatched to the default resource as none of the resources in SampleAPI are configured to handle DELETE requests.
<api name="SampleAPI" context="/payments">
<resource url-mapping="/list" methods="GET" inSequence="seq7" outSequence="seq8"/>
<resource uri-template="/edit/{userId}" methods="PUT POST" outSequence="seq9">
    <inSequence>
         <log/>
         <send>
              <endpoint key="BackendService"/>
         </send>
    </inSequence>
</resource>
<resource inSequence="seq10" outSequence="seq11"/>
</api>
Updating metadata
When you create the API artifact from WSO2 Integration Studio, a resources folder with metadata files is created as shown below.
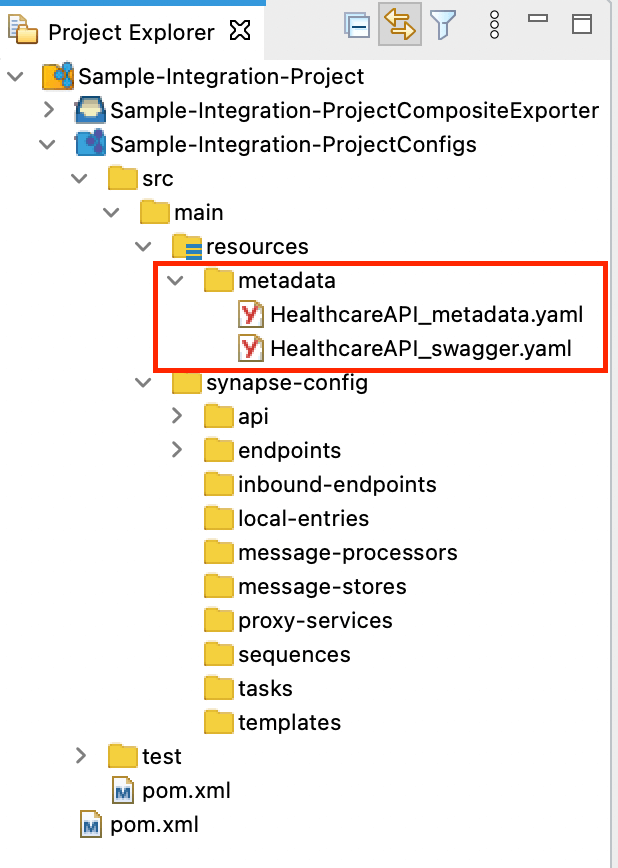
The service's metadata is used by the API management runtime to generate the API proxy for the integration service (which is this API).
| Parameter | Description |
|---|---|
| description | Explain the purpose of the API. |
| serviceUrl |
This is the URL of the API when it gets deployed in the Micro Integrator. You (as the integration developer) may not know this URL during development. Therefore, you can parameterize the URL to be resolved later using environment variables. By default, the {MI_HOST} and {MI_PORT} values are parameterized with placeholders.
You can configure the serviceUrl in the following ways:
|
Tip
See the Service Catalog API documentation for more information on the metadata in the YAML file.
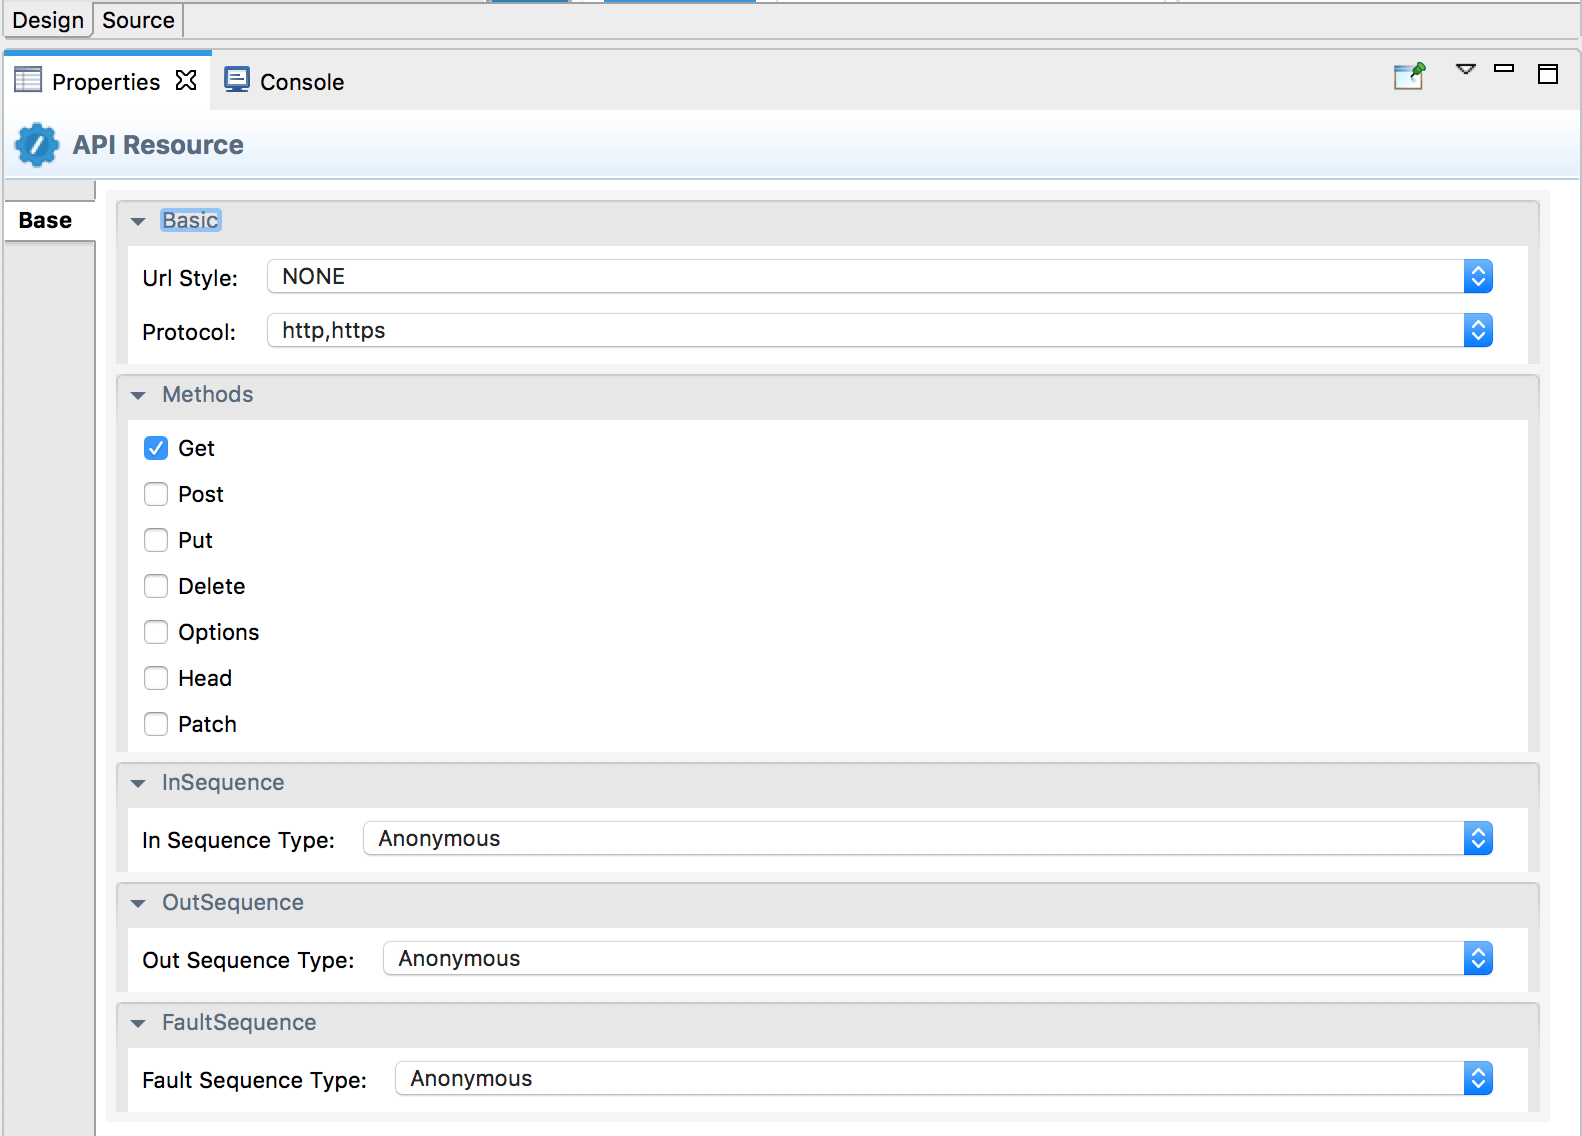
Updating properties
To update API-level properties from the Design view:
-
Double-click the API icon to open the Properties tab for the API.

-
See the complete list of optional REST API properties you can configure.
To update API resource properties from the Design view:
-
Double-click the Resource icon to enable the Properties tab for the resource.
-
See the complete list of API Resource properties you can configure.
Using the Source View
Click the Source tab to view the XML-based synapse configuration (source code) of the API. You can update the API using this view.

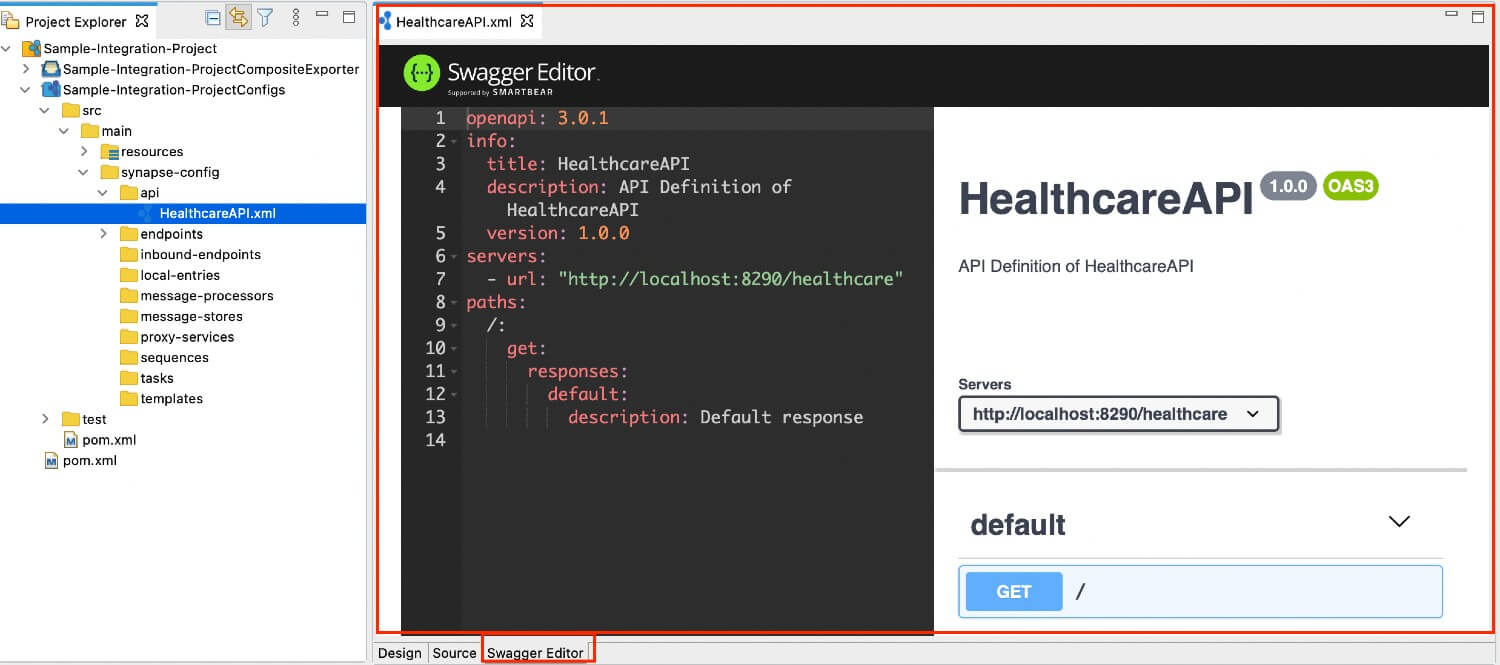
Using the Swagger Editor
Click the Swagger Editor tab to view the Swagger definition of your API. You can update the API using the Swagger editor (left panel) and also interact with the API using the Swagger UI (right panel).
Note
If you have added a custom Swagger definition to the API, note that this view displays the API's default Swagger definition and not the custom Swagger definition that you added.