Creating a Datasource
Follow the instructions given below to create a new Datasource connection in WSO2 Integration Studio.
Instructions
Follow the steps given below to create the datasource file:
-
Select the already created Datasource Config module in the project navigator, right-click, and go to New -> Datasource.
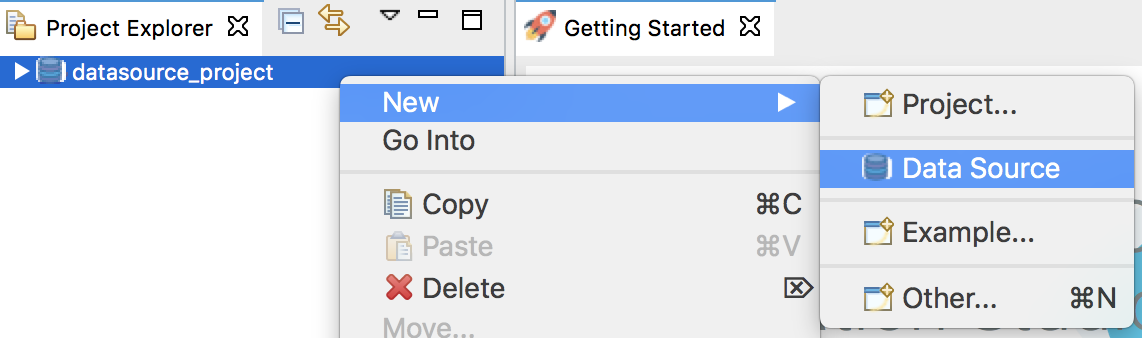
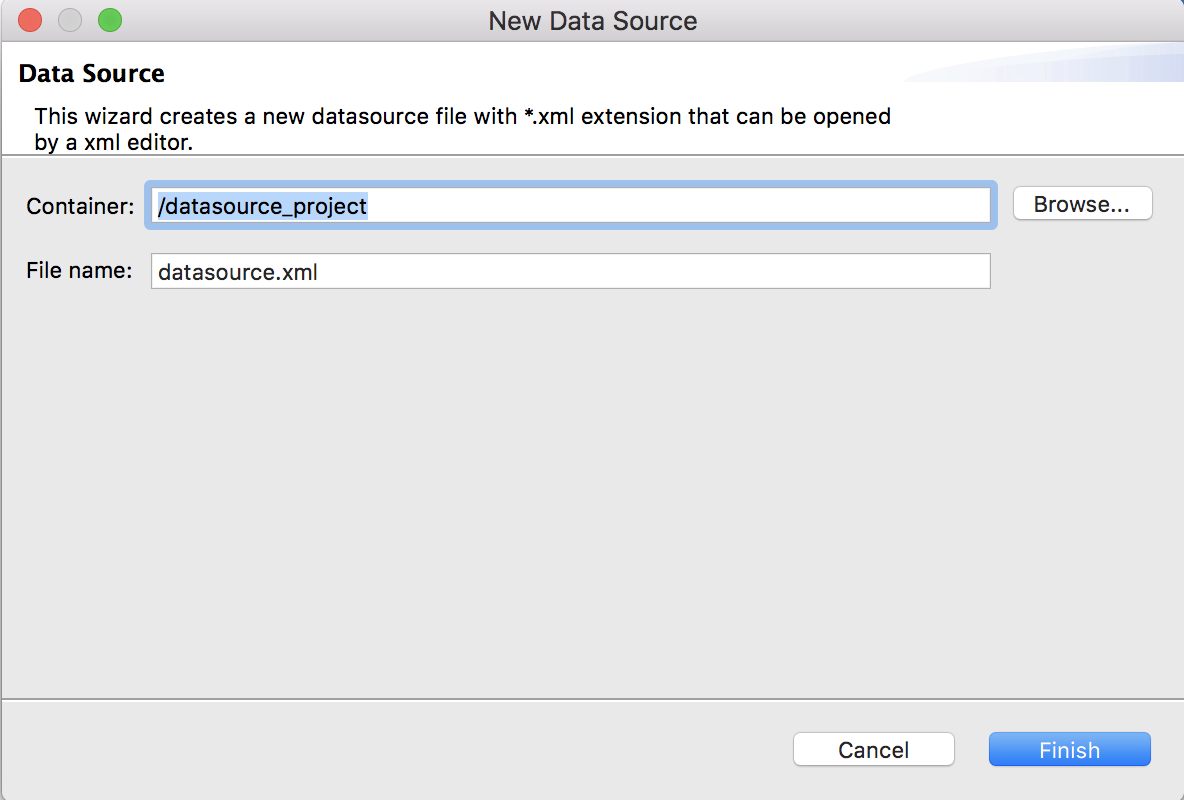
The New Datasource window will open as shown below.
-
Select your datasource config module as the Container, add the file name for your datasource, and click Finish.
A datasource file will now be created in your datasource config module. Shown below is the sample configuration that is created. You can now update the values in this configuration.
<datasource>
    <name>MySQLConnection</name>
    <description>MySQL Connection</description>
    <jndiConfig useDataSourceFactory="false">
        <name>MysqlConJNDI1</name>
    </jndiConfig>
    <definition type="RDBMS">
        <configuration>
            <driverClassName>com.mysql.jdbc.Driver</driverClassName>
            <url>jdbc:mysql://localhost:3306/mysqldb</url>
            <username>username</username>
            <password>password</password>
        </configuration>
    </definition>
</datasource>
Tip
You can generate dataservices for the created datasource. For more information, you can follow the steps given in Generate Data Services.