Store and Forward Messages for Guaranteed Delivery
What you'll build
Store and forward messaging is used for serving traffic to back-end services that can only accept request messages at a given rate. This is also used to ensure guaranteed delivery of messages. Messages never get lost since they are stored in the message store and available for future reference.
In this tutorial, instead of sending the request directly to the back-end service, you store the request message in the RabbitMQ broker. You will then use a Message Processor to retrieve the message from the store before delivering it to the back-end service.
Let's get started!
Step 1: Set up the workspace
Download the relevant WSO2 Integration Studio based on your operating system.
Step 2: Develop the integration artifacts
Create an Integration project
An Integration project is a maven multi module project, which will contain all the required modules for the integration solution.
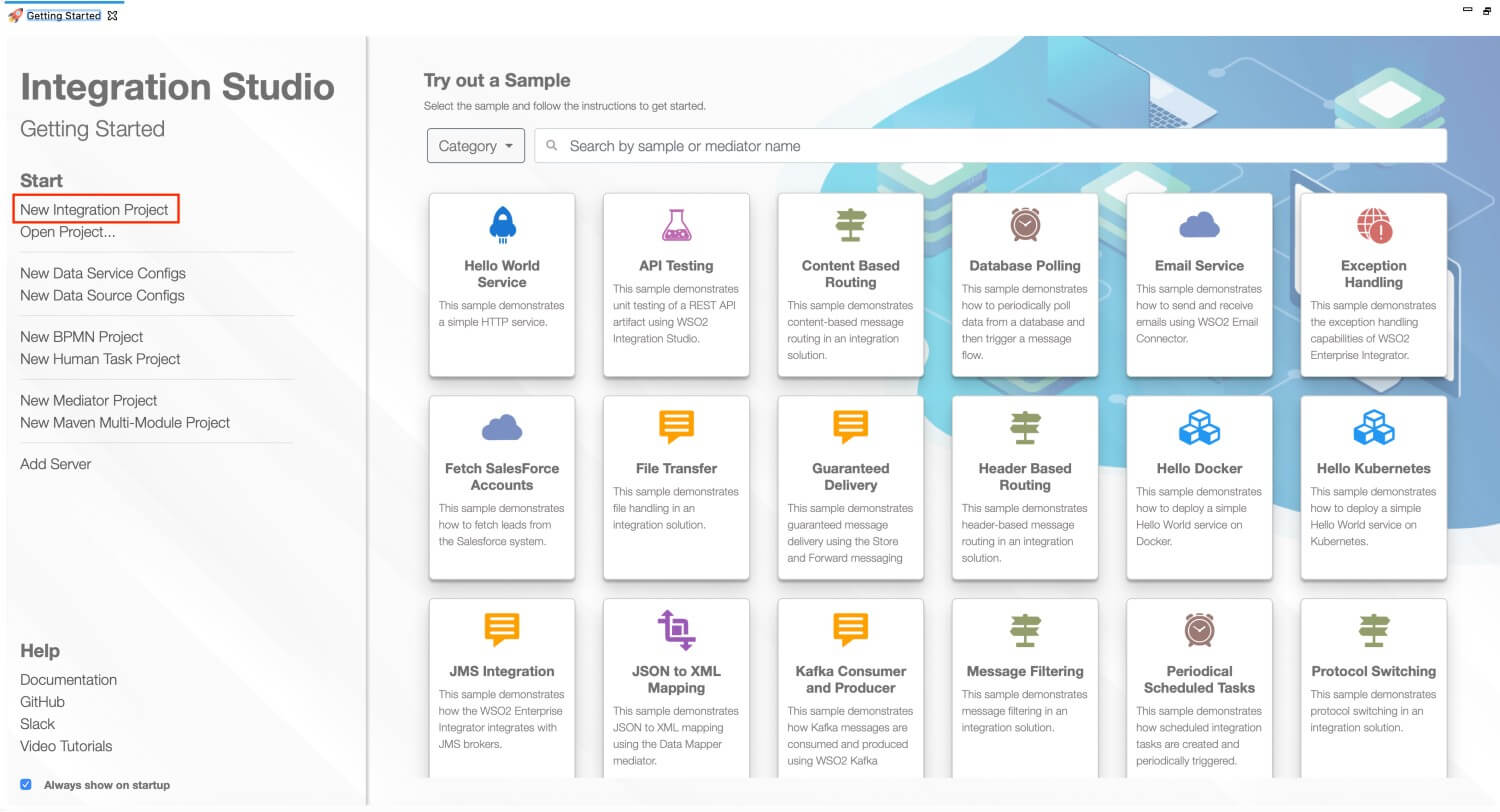
- Open WSO2 Integration Studio.
-
Click New Integration Project in the Getting Started tab as shown below.
This will open the New Integration Project dialog box.

-
Enter
SampleServicesas the project name and select the following check boxes to create the required modules.- Create ESB Configs
- Create Composite Exporter
-
Click Finish.
You will now see the projects listed in the Project Explorer.
Create a REST API
- In the Project Explorer, right-click SampleServicesConfigs and go to New -> REST API.
- Ensure Create A New API Artifact is selected and click Next.
-
Enter the details given below to create a new REST API.
Property Value Description Name HealthcareAPIThe name of the REST API. Context /healthcareHere you are anchoring the API in the /healthcarecontext. This will become part of the name of the generated URL used by the client when sending requests to the Healthcare service. For example, setting the context to /healthcare means that the API will only handle HTTP requests where the URL path starts withhttp://host:port/healthcare.Save location SampleServicesConfigs This is the ESB Config module where the artifact will be saved. -
Click the default API Resource to access the Properties tab and enter the following details:
Property Description Url Style Click in the Value field, click the down arrow, and select URI_TEMPLATE from the list. URI-Template Enter /categories/{category}/reserve.Methods From the list of methods, select POST. 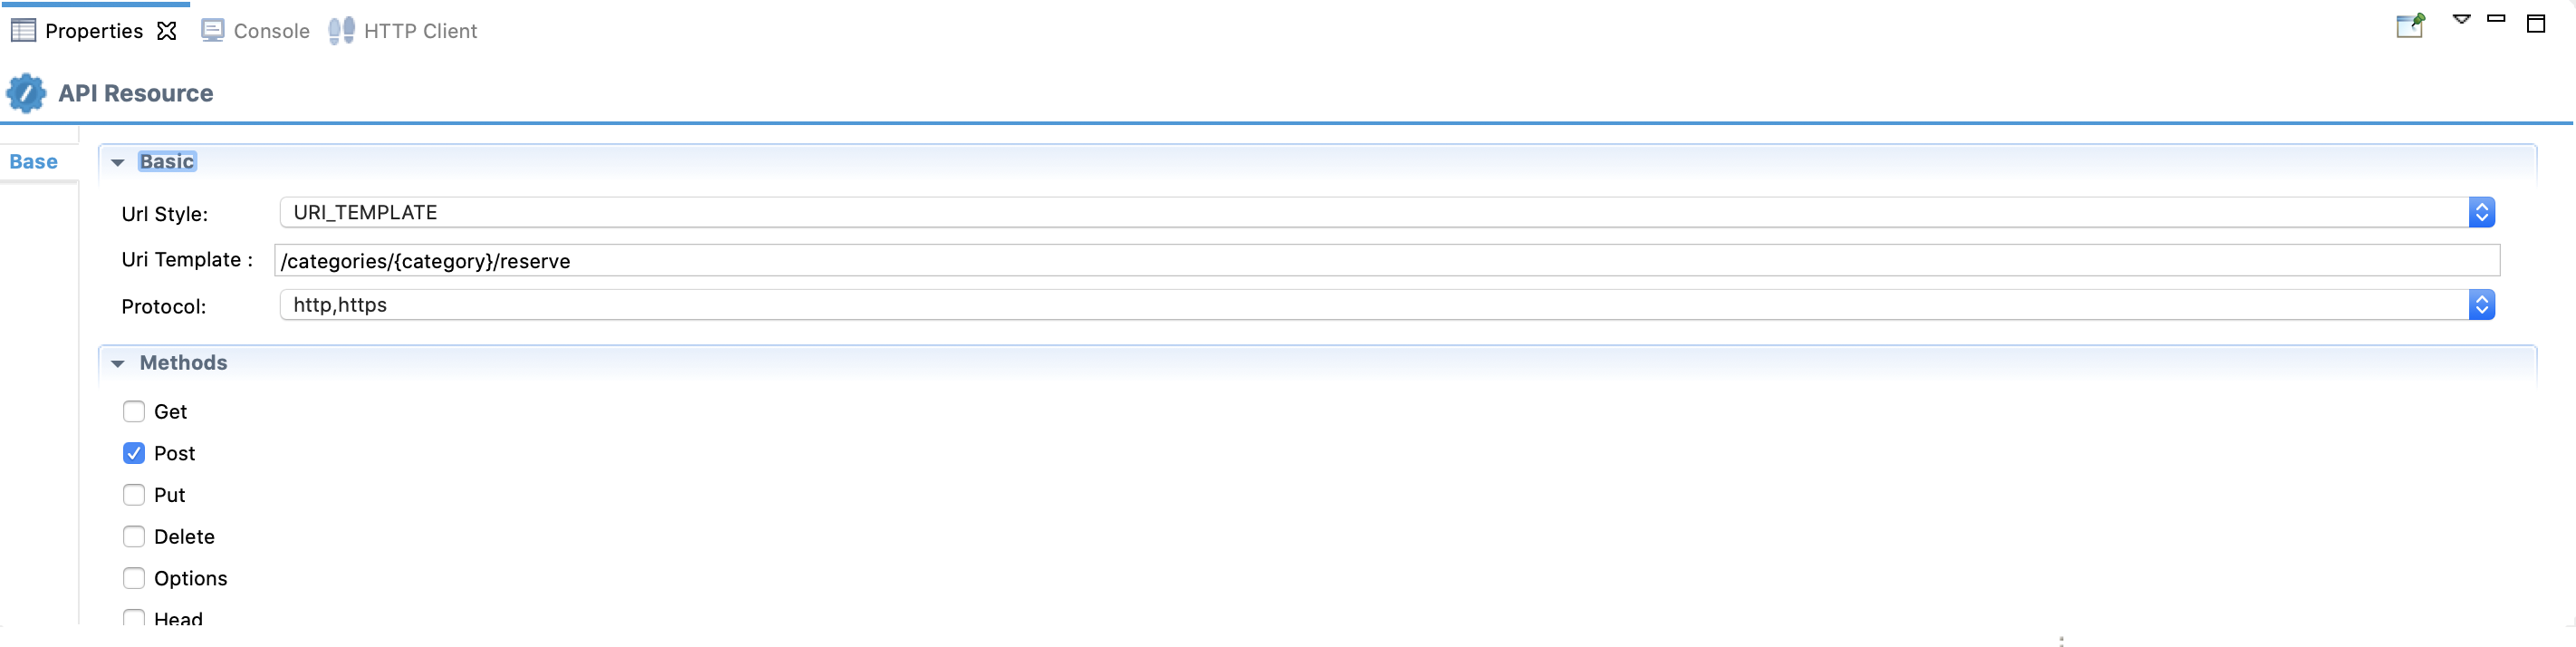
Create the Message Store
Now, let's create a message store artifact to represent the broker.
- Right-click SampleServices in the project explorer and navigate to New->Message Store.
-
Select Create a new message-store artifact and specify the following details:
Property Value Description Message Store Name HospitalServiceMessageStoreThe name of the message store. Message Store Type RabbitMQ Message Store An instance of RabbitMQ server will be used as the broker. RabbitMQ Server Host Name localhostThe address of the RabbitMQ broker RabbitMQ Server Port 5672The port number of the RabbitMQ message broker. RabbitMQ Queue Name HospitalServiceMessageStoreQueue The queue to which the subscription is created. RabbitMQ Exchange Name exchange The name of the RabbitMQ exchange to which the queue is bound. Routing Key key The exchange and queue binding value. User Name user name The user name to connect to the broker. Password password The password to connect to the broker. -
Click Finish.
Create new Endpoint
Let's create an Endpoint to represent the Hospital Service back-end service.
- Right click SampleServicesConfigs in the project explorer and click New -> Endpoint.
- Ensure Create a New Endpoint is selected and click Next.
-
Let's create the hospital service endpoint (HospitalServicesEP) using the following values:
Property Value Description Endpoint Name HospitalServicesEPThis is a single endpoint configured to forward requests to the relevant hospital by reading the hospital specified in the request payload. Endpoint Type HTTP EndpointIndicates that the back-end service is HTTP. URI Template http://localhost:9090/{uri.var.hospital}/categories/{uri.var.category}/reserveThe template for the request URL expected by the back-end service. The following two variables will be replaced by the corresponding values in the request message: - {uri.var.hospital}
- {uri.var.category}
Method POSTEndpoint HTTP REST Method. Save Endpoint in SampleServicesConfigsThis is the ESB Config module we created in the last section. -
Click Finish.
Create a Sequence
Let's create a Sequence that uses the message in the message store to send the request to hospital service endpoint.
- Right click the SampleServices project in the Project Explorer and click New -> Sequence.
- Select Create New Sequence and give HospitalServiceSequence as the name.
- Click Finish.
- In the sequence you have created (in the previous step), drag and drop a Call mediator from the Mediators palette and add HospitalServicesEP from the Defined Endpoints palette to the empty box adjoining the Call mediator.
-
Drag and drop a Log mediator from the Mediators palette to log the response from HospitalServicesEP. Access the Property tab and specify the following details:
Field Value Log Category INFO Log Level FULL -
Add a Drop mediator from the Mediators palette.
- Save the updated sequence configuration.
Create the Message Processor
Let's create a Message Sampling Processor to dispatch the request message from the Message Store to the HospitalServiceSequence.
Info
You can also use the Scheduled Message Forwarding Processor here and define the endpoint within the processor. The Message Sampling Processor is used because you need to perform mediation on the request message in the next tutorial.
-
Right-click the SampleServices project in the project explorer and click New -> Message Processor. Select create a new message-processor artifact and specify the details shown below:
Property Value Description Message Processor Type Message Sampling Processor This processor takes the message from the store and puts it into a sequence.
Message Processor Name HospitalServiceMessageProcessor The name of the scheduled message forwarding processor. Message Store HospitalServiceMessageStore The message store from which the scheduled message forwarding processor consumes messages. Processor State Activate Whether the processor needs to be activated or deactivated. Sequence Follow the steps given below:
- Click Browse.
- Click the workspace link.
- Click Carbon Application Sequences > SampleServices .
- Select HospitalServiceSequence and click OK.
The name of the sequence to which the message from the store needs to be sent. -
Click Finish.
Update the mediation flow
Let's update the REST API so that the client request is forwarded to the message store we created above.
-
Drag a Property mediator from the Mediators palette to the In Sequence of the API resource and name it Get Hospital.
Info
This is used to extract the hospital name that is sent in the request payload.
-
With the Property mediator selected, access the Properties tab and give the following details:
Property Description Property Name Enter New Property....New Property Name Enter uri.var.hospital.Property Action Enter set.Property Scope Enter default.Value Follow the steps given below to specify the expression value:

- Click the Ex button before the Value field. This specifies the value type as expression.
- Now, click the f button to open the Expression Selector dialog box.
- Enter
json-eval($.hospital_id)as the expression value.
-
Drag and add a Store mediator from the mediators palette after the Property mediator.
-
With the Store mediator selected, access the Property tab and specify the following details:
Field Description Available Message Store Select HospitalServiceMessageStore Message Store Double click to populate the value HospitalServiceMessageStore Description Hospital Service Store -
Drag a Respond mediator to return the response from the health care service back to the client.
We have now finished creating all the required artifacts.
Step 3: Package the artifacts
Package the artifacts in your composite application project (SampleServicesCompositeExporter module) to be able to deploy the artifacts in the server.
- Open the
pom.xmlfile in the composite application project POM editor. -
Ensure that the following projects and artifacts are selected in the POM file.
- SampleServicesCompositeExporter
HealthcareAPIHospitalServicesEPHospitalServiceMessageStoreHospitalServiceMessageProcessorHospitalServiceSequence
- SampleServicesCompositeExporter
-
Save the project.
Step 4: Start the RabbitMQ Broker
Be sure to install and start a RabbitMQ server instance before starting the Micro-Integrator.
See the RabbitMQ documentation for more information on how to install and run the product.
Step 5: Build and run the artifacts
To test the artifacts, deploy the packaged artifacts in the embedded Micro Integrator:
- Right-click the composite exporter module and click Export Project Artifacts and Run.
- In the dialog box that opens, confirm that the required artifacts from the composite exporter module are selected.
- Click Finish.
The artifacts will be deployed in the embedded Micro Integrator and the server will start.
- See the startup log in the Console tab.
- See the URLs of the deployed services and APIs in the Runtime Services tab.
Step 6: Test the use case
Let's test the use case by sending a simple client request that invokes the service.
Start the back-end service
- Download the JAR file of the back-end service from here.
- Open a terminal, navigate to the location where your saved the back-end service.
-
Execute the following command to start the service:
java -jar Hospital-Service-JDK11-2.0.0.jar
Send the client request
Let's send a request to the API resource. You can use the embedded HTTP Client of WSO2 Integration Studio as follows:
-
Open the Postman application. If you do not have the application, download it from here : Postman
-
Add the request information as given below and click the Send button.
Method POSTHeaders Content-Type=application/jsonURL http://localhost:8290/healthcare/categories/surgery/reserve-
The URI-Template format that is used in this URL was defined when creating the API resource QueryDoctorAPI:
http://.: /categories/{category}/reserve
Body { "patient": { "name": "John Doe", "dob": "1940-03-19", "ssn": "234-23-525", "address": "California", "phone": "8770586755", "email": "[email protected]" }, "doctor": "thomas collins", "hospital_id": "grandoaks", "hospital": "grand oak community hospital", "appointment_date": "2025-04-02" }- This JSON payload contains details of the appointment reservation, which includes patient details, doctor, hospital, and data of appointment.
-
The URI-Template format that is used in this URL was defined when creating the API resource QueryDoctorAPI:
If you want to send the client request from your terminal:
-
Install and set up cURL as your REST client.
-
Create a JSON file names
request.jsonwith the following request payload.{ "patient": { "name": "John Doe", "dob": "1940-03-19", "ssn": "234-23-525", "address": "California", "phone": "8770586755", "email": "[email protected]" }, "doctor": "thomas collins", "hospital_id": "grandoaks", "hospital": "grand oak community hospital", "appointment_date": "2025-04-02" } -
Open a command line terminal and execute the following command from the location where the
request.jsonfile you created is saved:curl -v -X POST --data @request.json http://localhost:8290/healthcare/categories/surgery/reserve --header "Content-Type:application/json"
Analyze the response
You will see the following response received to your HTTP Client:
{"appointmentNumber":1,
    "doctor":
         {"name":"thomas collins",
          "hospital":"grand oak community hospital",
          "category":"surgery","availability":"9.00 a.m - 11.00 a.m",
          "fee":7000.0},
    "patient":
        {"name":"John Doe",
         "dob":"1990-03-19",
         "ssn":"234-23-525",
         "address":"California",
         "phone":"8770586755",
         "email":"[email protected]"},
    "fee":7000.0,
"confirmed":false,
"appointmentDate":"2025-04-02"}
Now check the Console tab of WSO2 Integration Studio and you will see the following message: INFO - LogMediator message = Routing to grand oak community hospital.
[2017-04-30 14:33:48,578] [EI-Core]  INFO - LogMediator message = Routing to grand oak community hospital

[2017-04-30 14:33:48,598] [EI-Core]  INFO - TimeoutHandler This engine will expire all callbacks after GLOBAL_TIMEOUT: 120 seconds, irrespective of the timeout action, after the specified or optional timeout

2017-04-30 14:33:53,464] [EI-Core]  INFO - LogMediator To: http://www.w3.org/2005/08/addressing/anonymous, WSAction: , SOAPAction: , MessageID: urn:uuid:a2cf1fd2-7a89-44b6-9571-990bbdfbd289, Direction: request, Payload: {"appointmentNo":1,"doctorName":"thomas collins","patient":"John Doe","actualFee":7000.0,"discount":20,"discounted":5600.0,"paymentID":"a77038e9-3e42-46f7-ac97-11e1b3a50018","status":"Settled"}
You have now explored how the Micro Integrator can be used to implement store and forward messaging using a Message Store, Message Processors, and the Store Mediator.